 "MM54" (mm54mk2)
02/17/2019 at 21:15 ē Filed to: '71Chevelle
 11
11
 6
6
 "MM54" (mm54mk2)
02/17/2019 at 21:15 ē Filed to: '71Chevelle |  11 11
|  6 6 |
In this photo-heavy series, Iíll go through in detail the work going into fitting a hydraulic clutch to the Chevelle in place of the factory z-bar mechanical linkage.
To recap, I previously bought a kit which purported to be a bolt-in affair, which was nowhere near correct and presented nearly-unsealable gaps in the firewall, as well as questionable quality components (plastic master cylinder, for example). I returned that and bought a kit from American Powertrain (with Wilwood hydraulics) that doesnít pretend to not require firewall modifications.
First up, inside the footwell the original pushrod and boot was removed, and using a straightedge I determined where-about the mounting plate for the new master cylinder must go. I also checked, and while tight I do have clearance (,
C
larence)
for the heim joint.
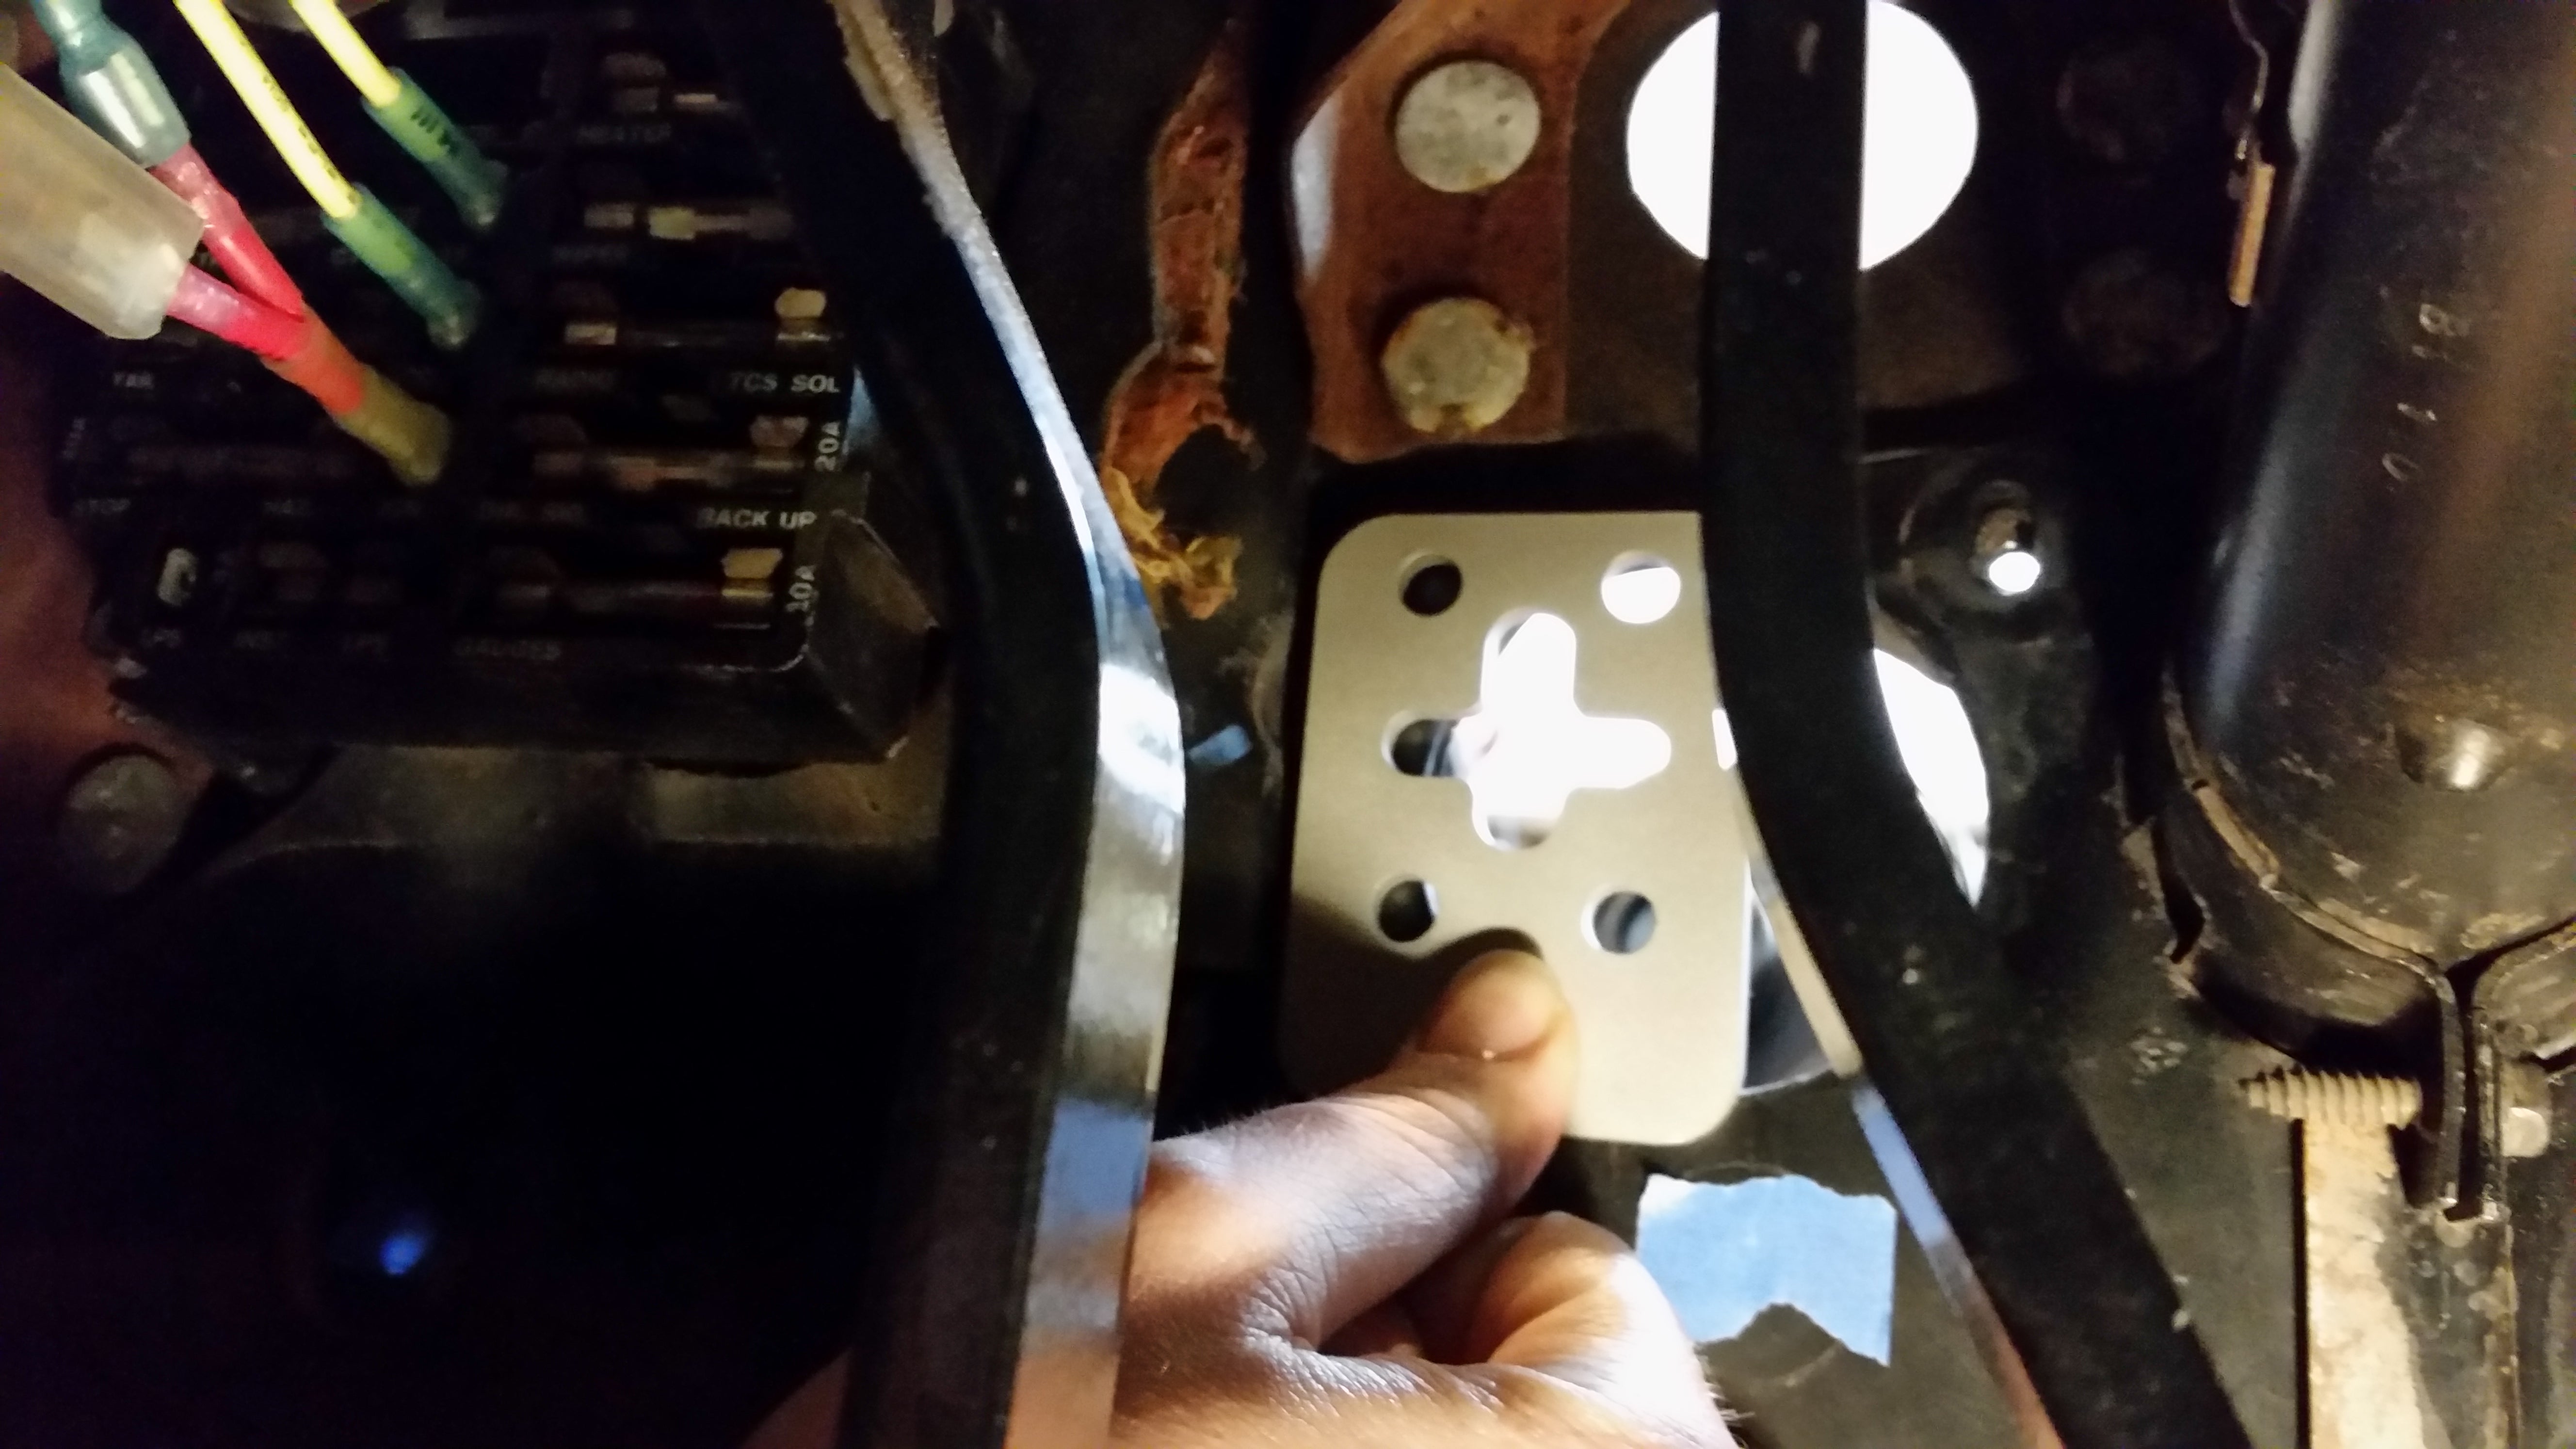
A matching plate on the other side clamps onto the firewall to spread the loading.
This has some good and bad - the bad part is most of it is in the large hole required for the stock linkage boot (which I had to cut about 2 years ago when swapping in the 4-speed; this is a solid plate on automatics). The upside is that the whole thing lands on this plate, which will further spread the load across the firewall to prevent metal fatigue.
Since thereís a big hole there, I took the plate out and sought to make it not have a hole.
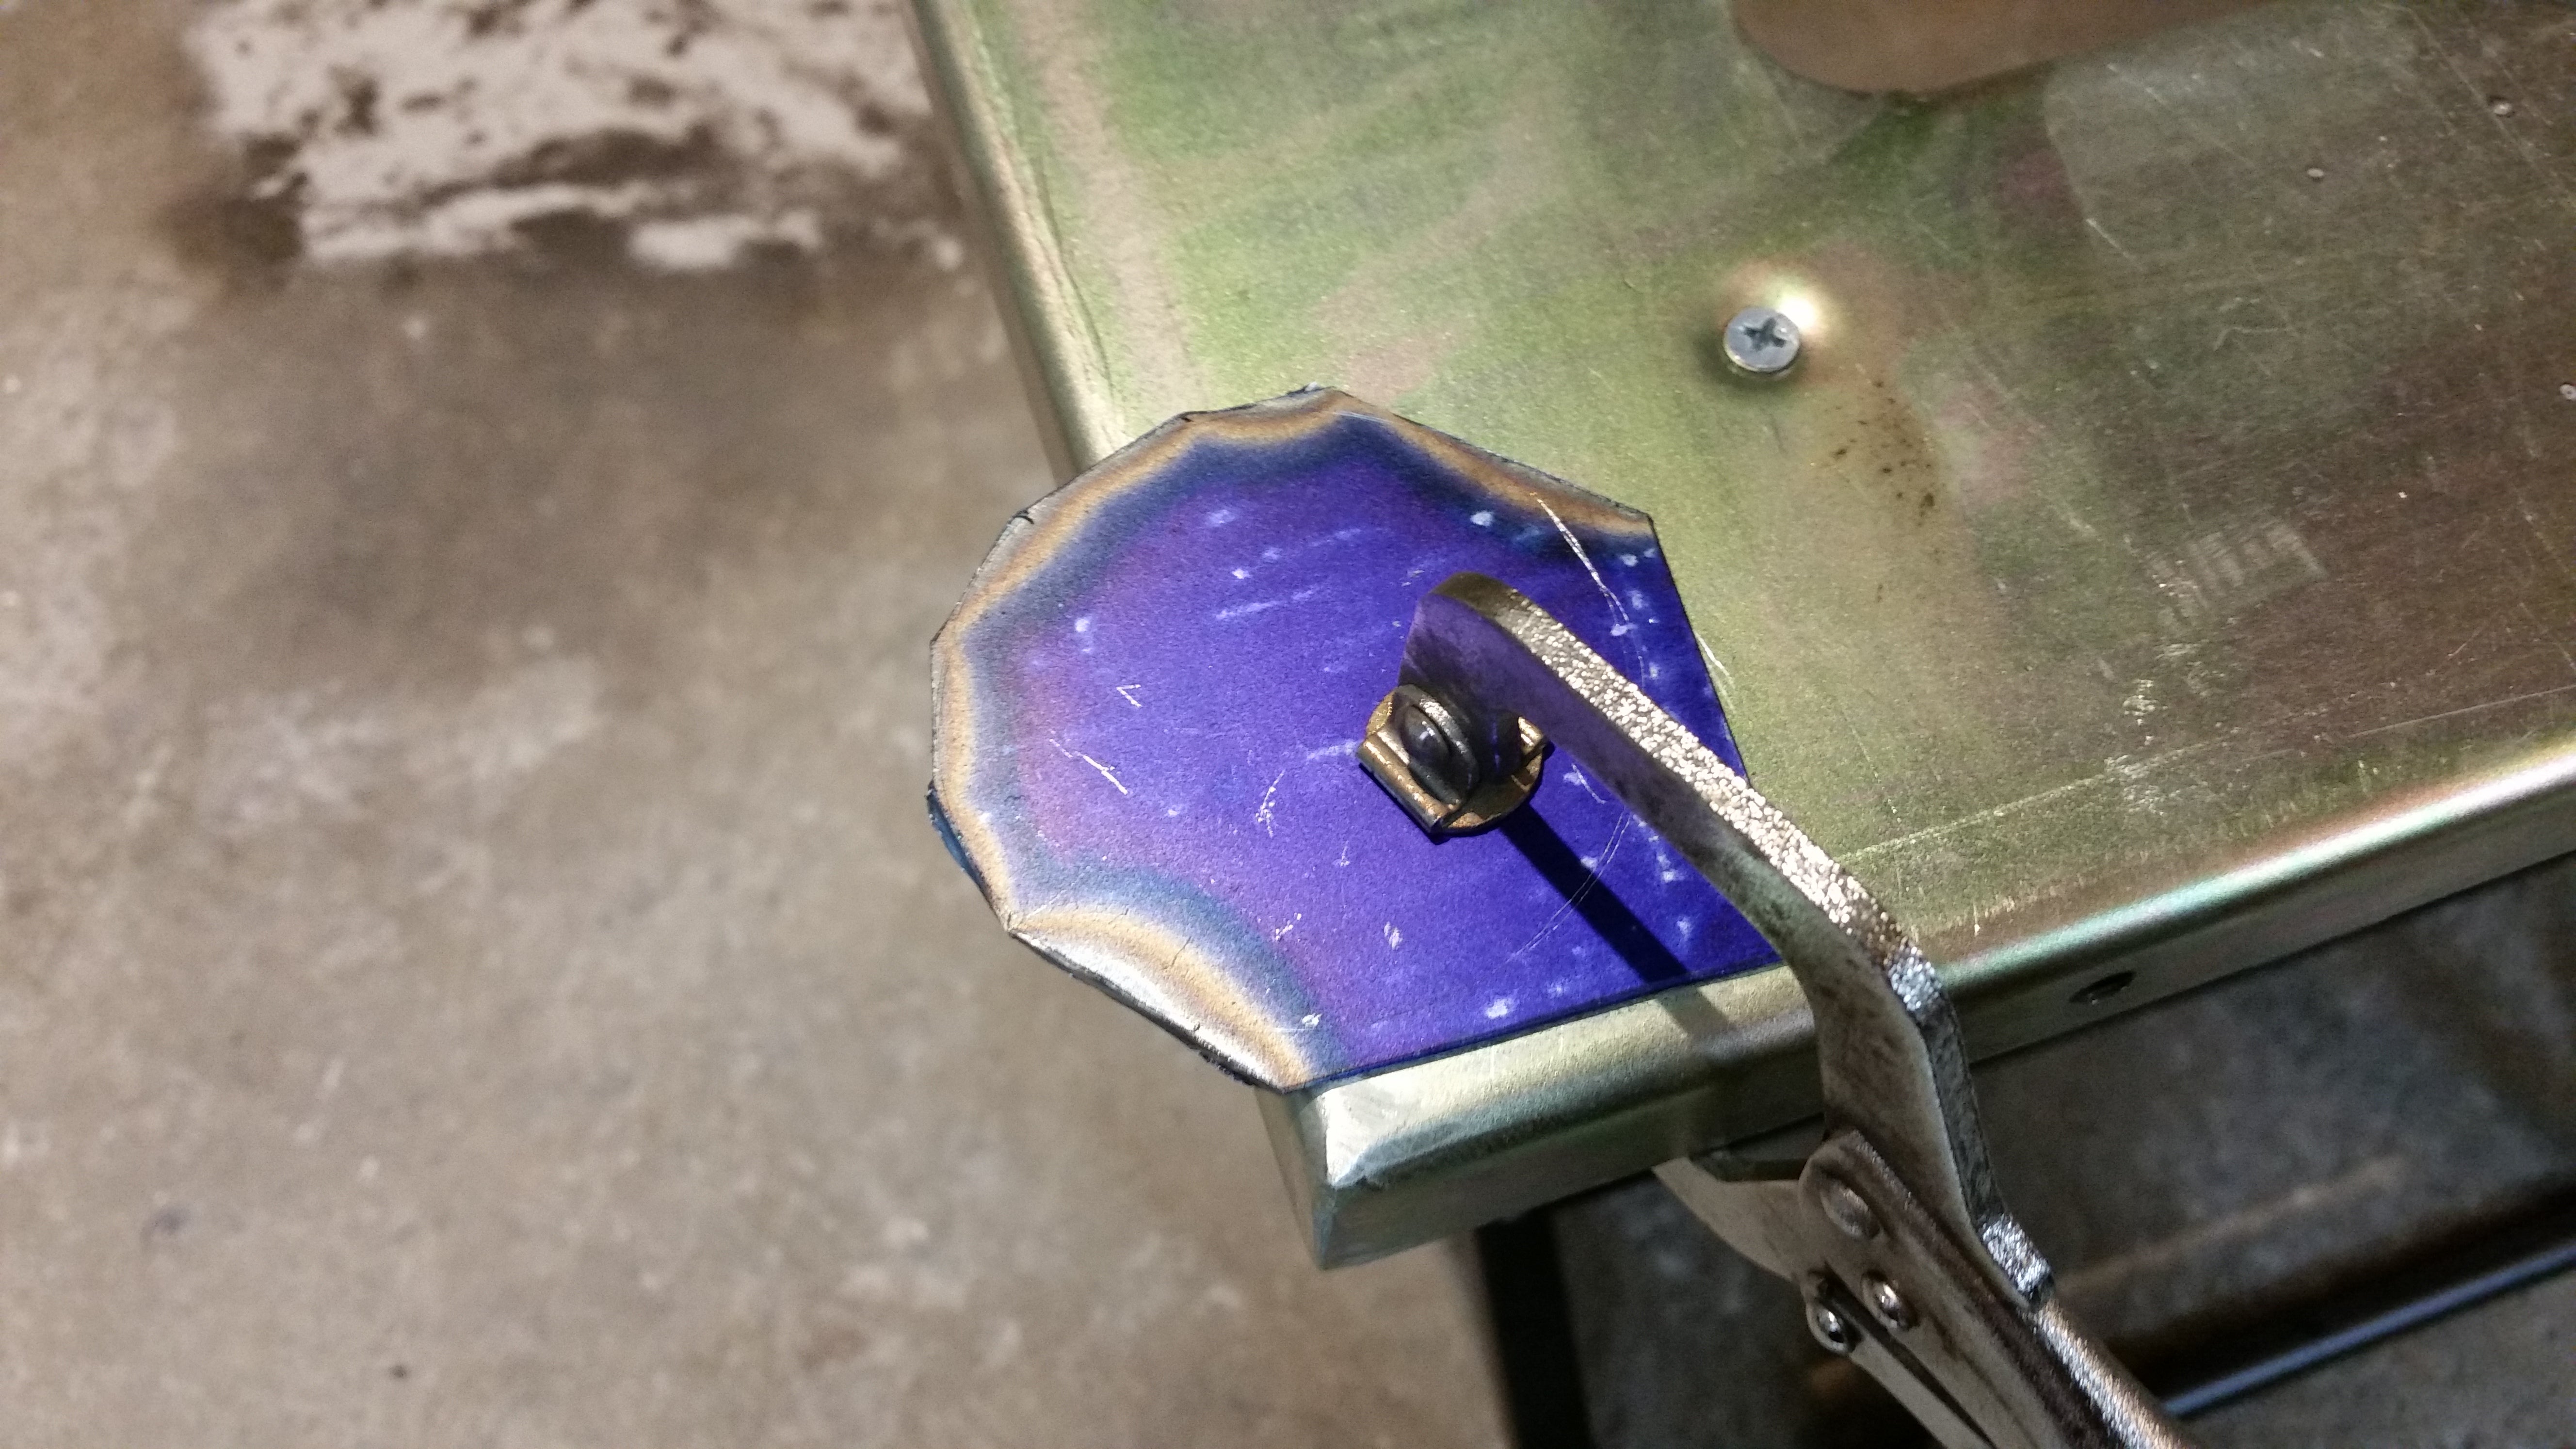
It is worth mentioning you can buy reproduction plates for automatic cars, which are solid, but thatís like $40+ vs a little sheet metal from the pile and an hour of time.
I traced the hole with a scribe on 16ga steel (the plate is 14, which I donít have. Close enough). I then cut it with the angle grinder and remembered that dykem doesnít like heat.
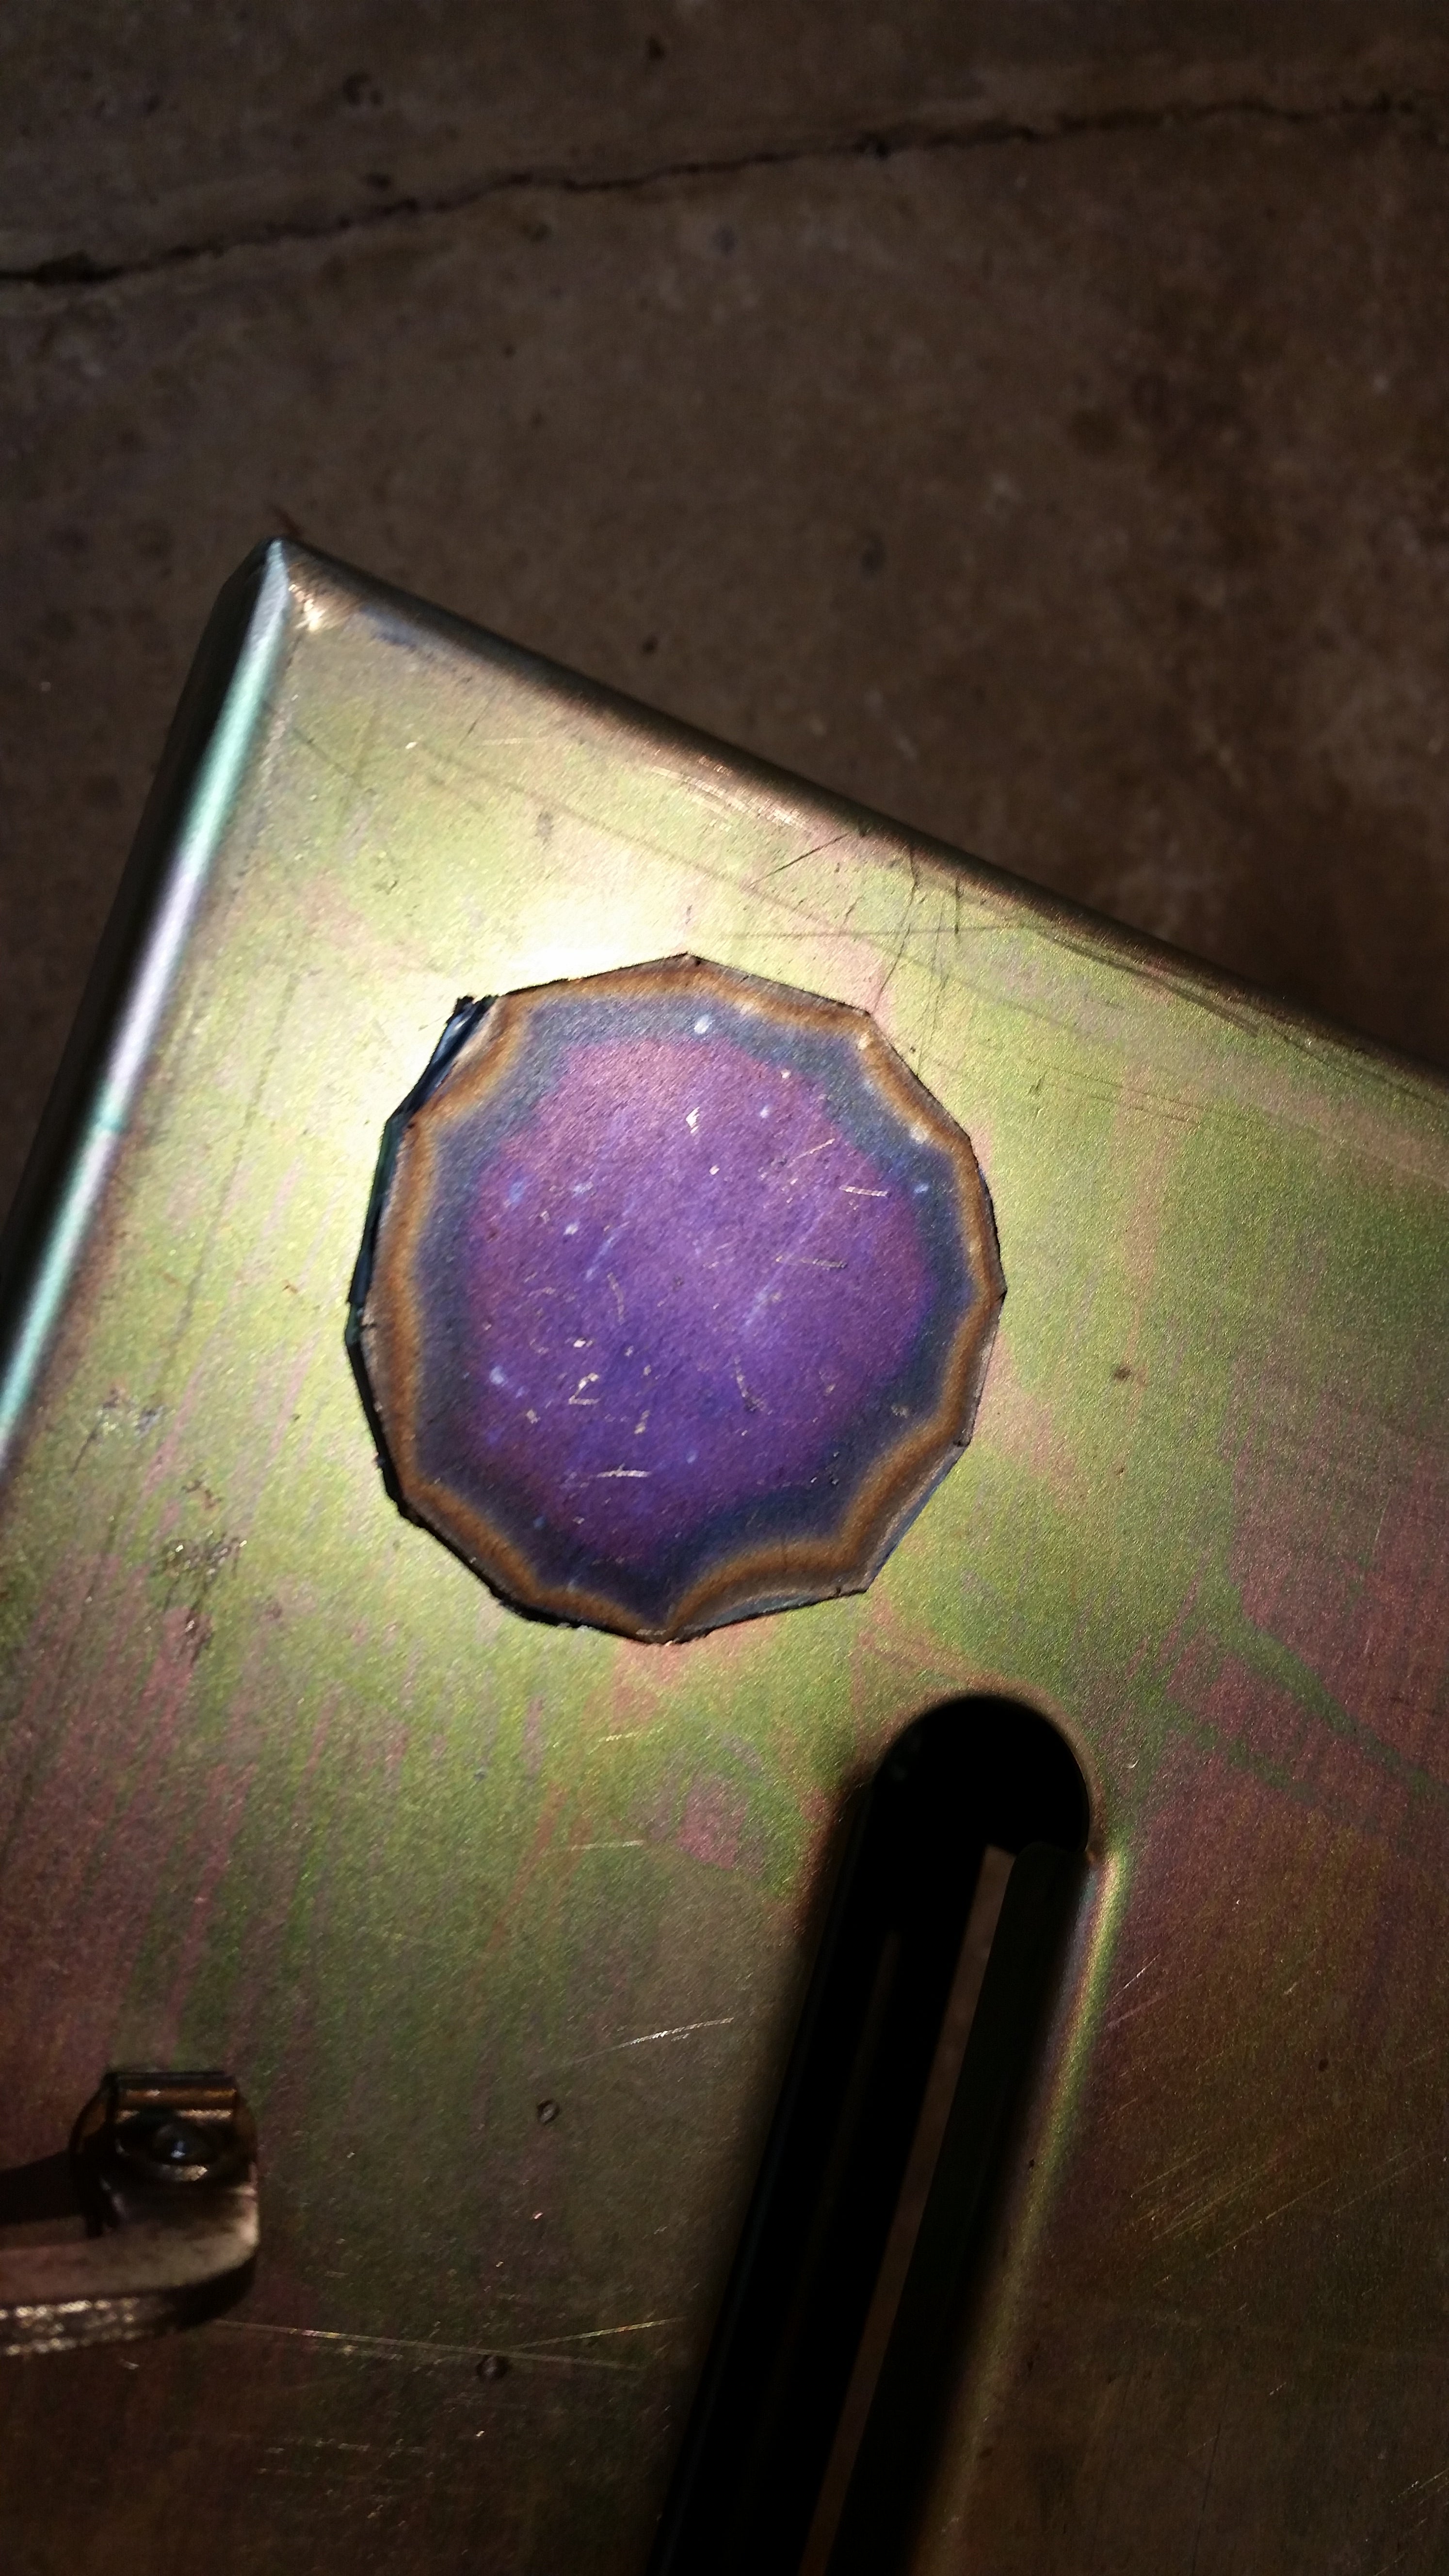
Not bad
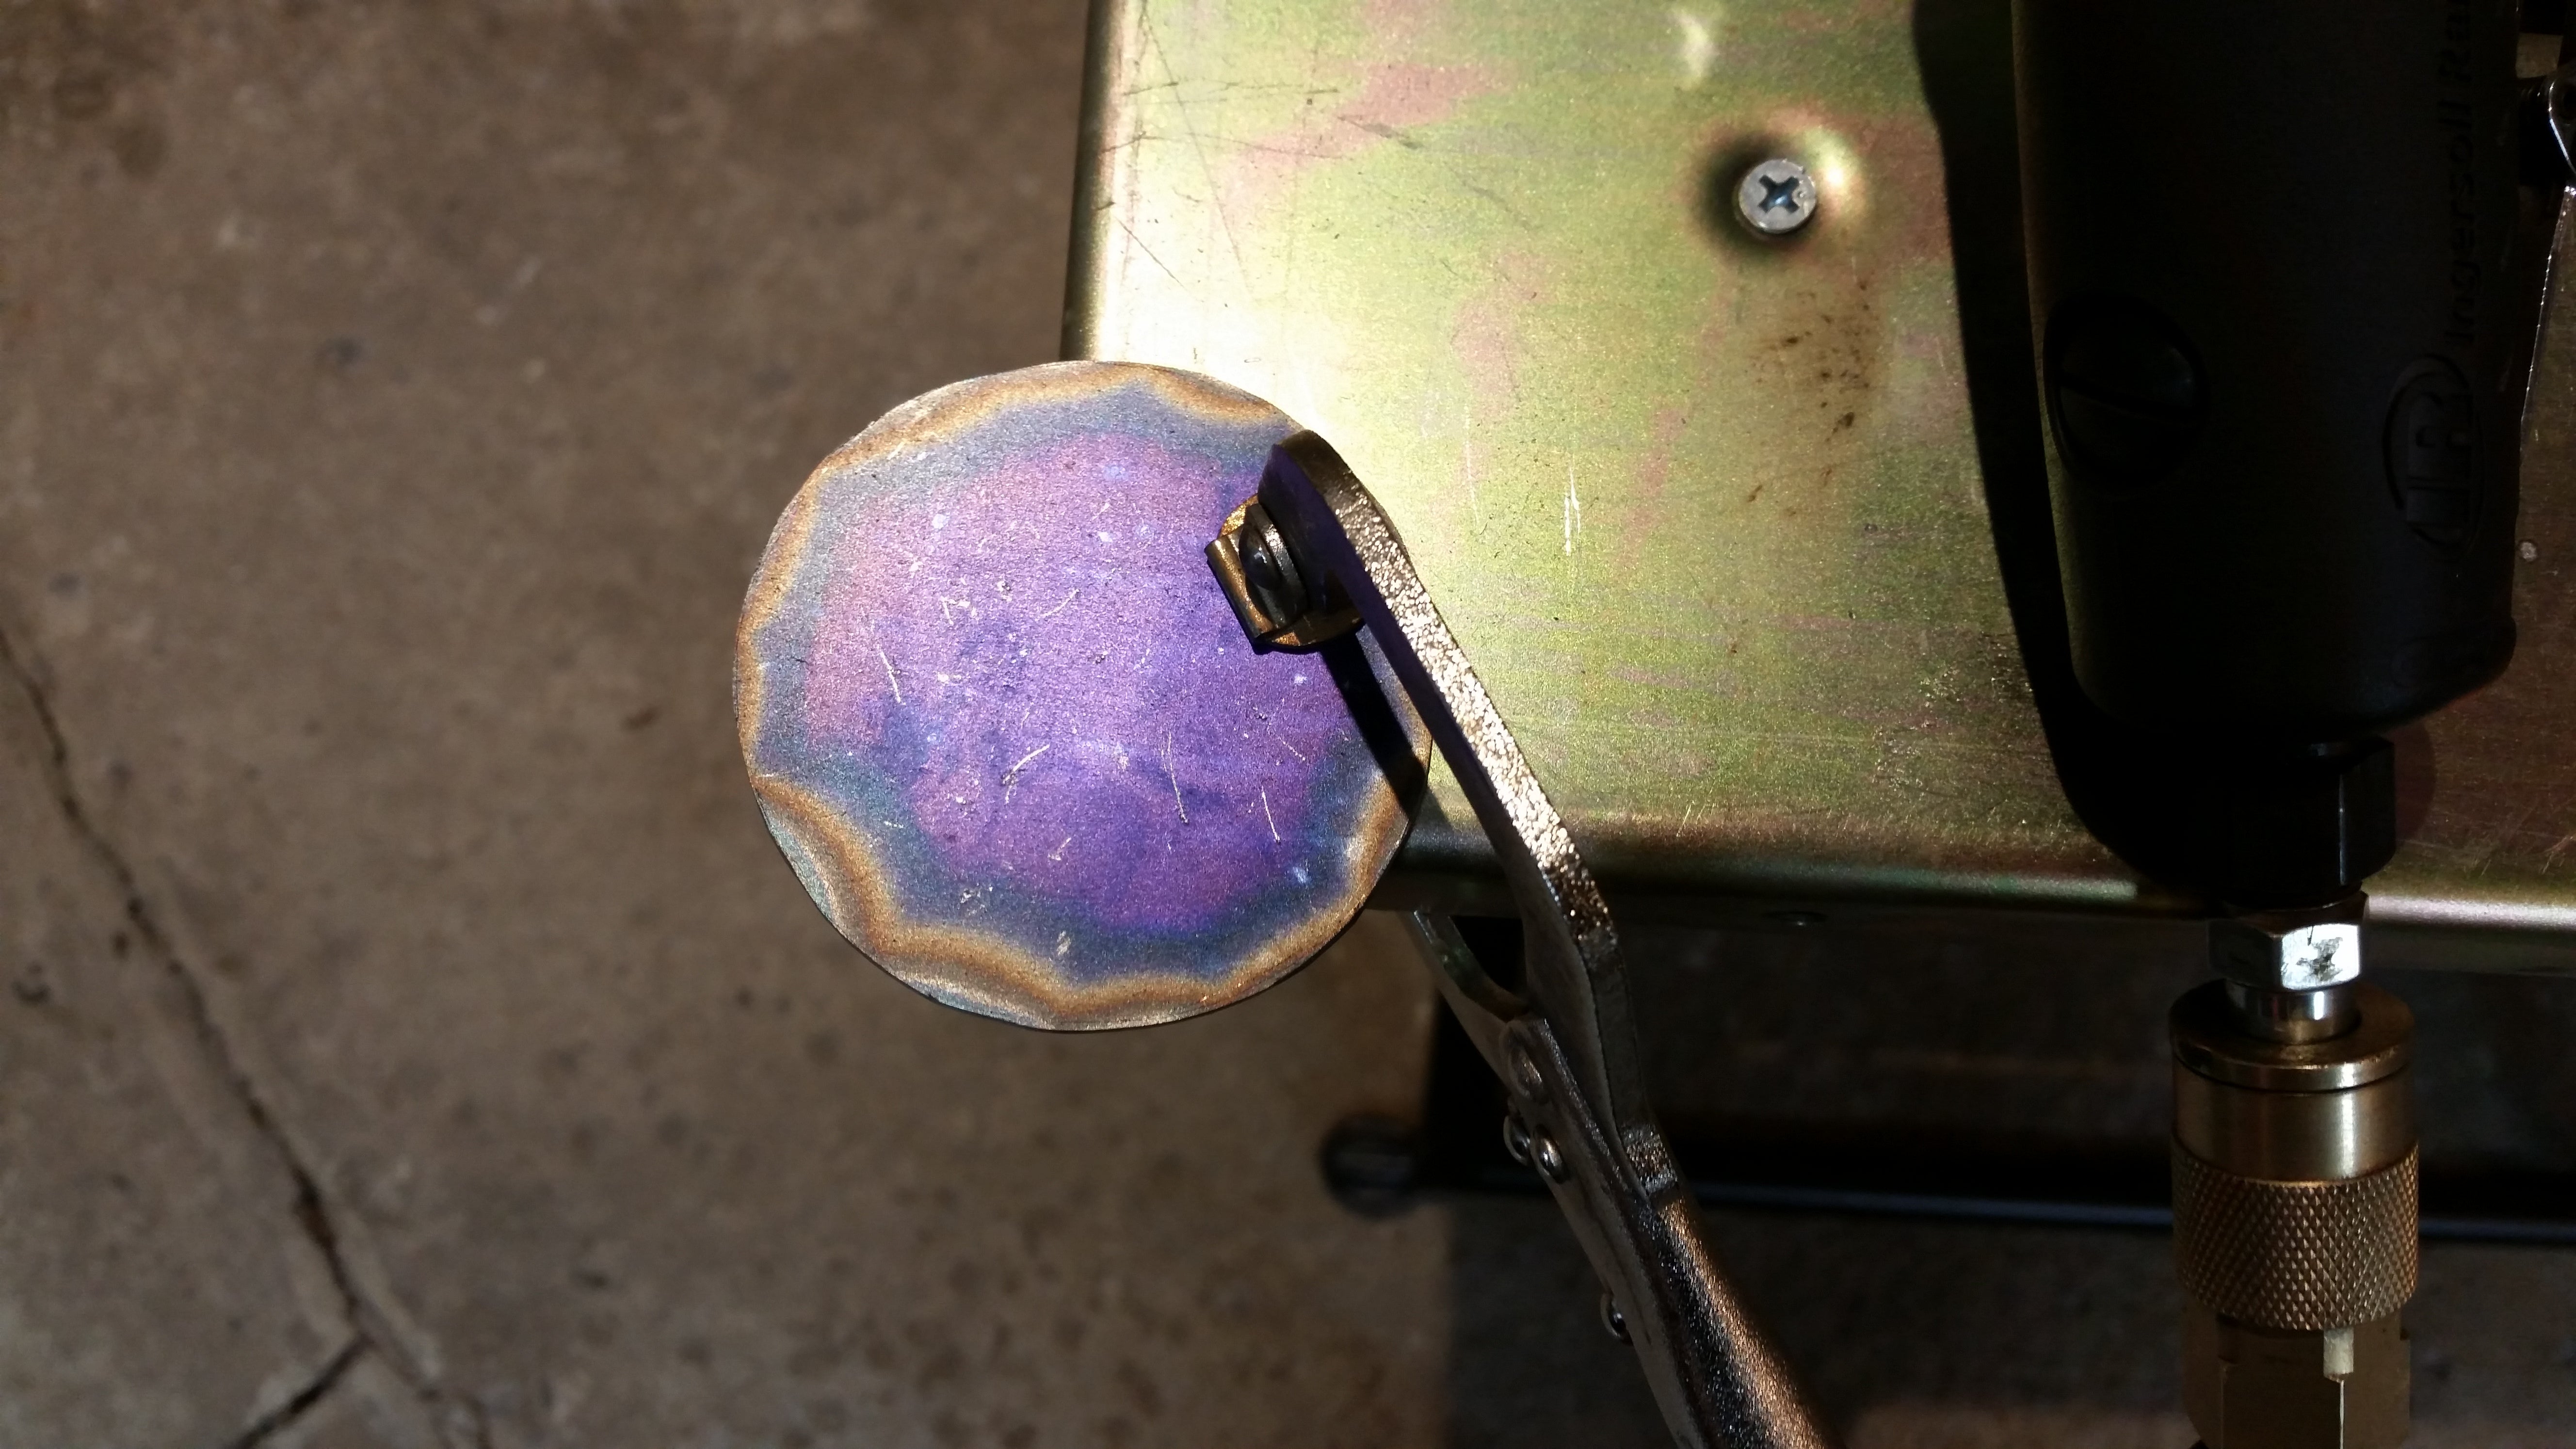
Fortunately the scribe line was still visible, so out came the die grinder with some 60 grit paper to make it actually round.
 !!!CAPTION ERROR: MAY BE MULTI-LINE OR CONTAIN LINK!!!
After a little more adjustment, it actually fits the hole (with a bit of clearance as required)!
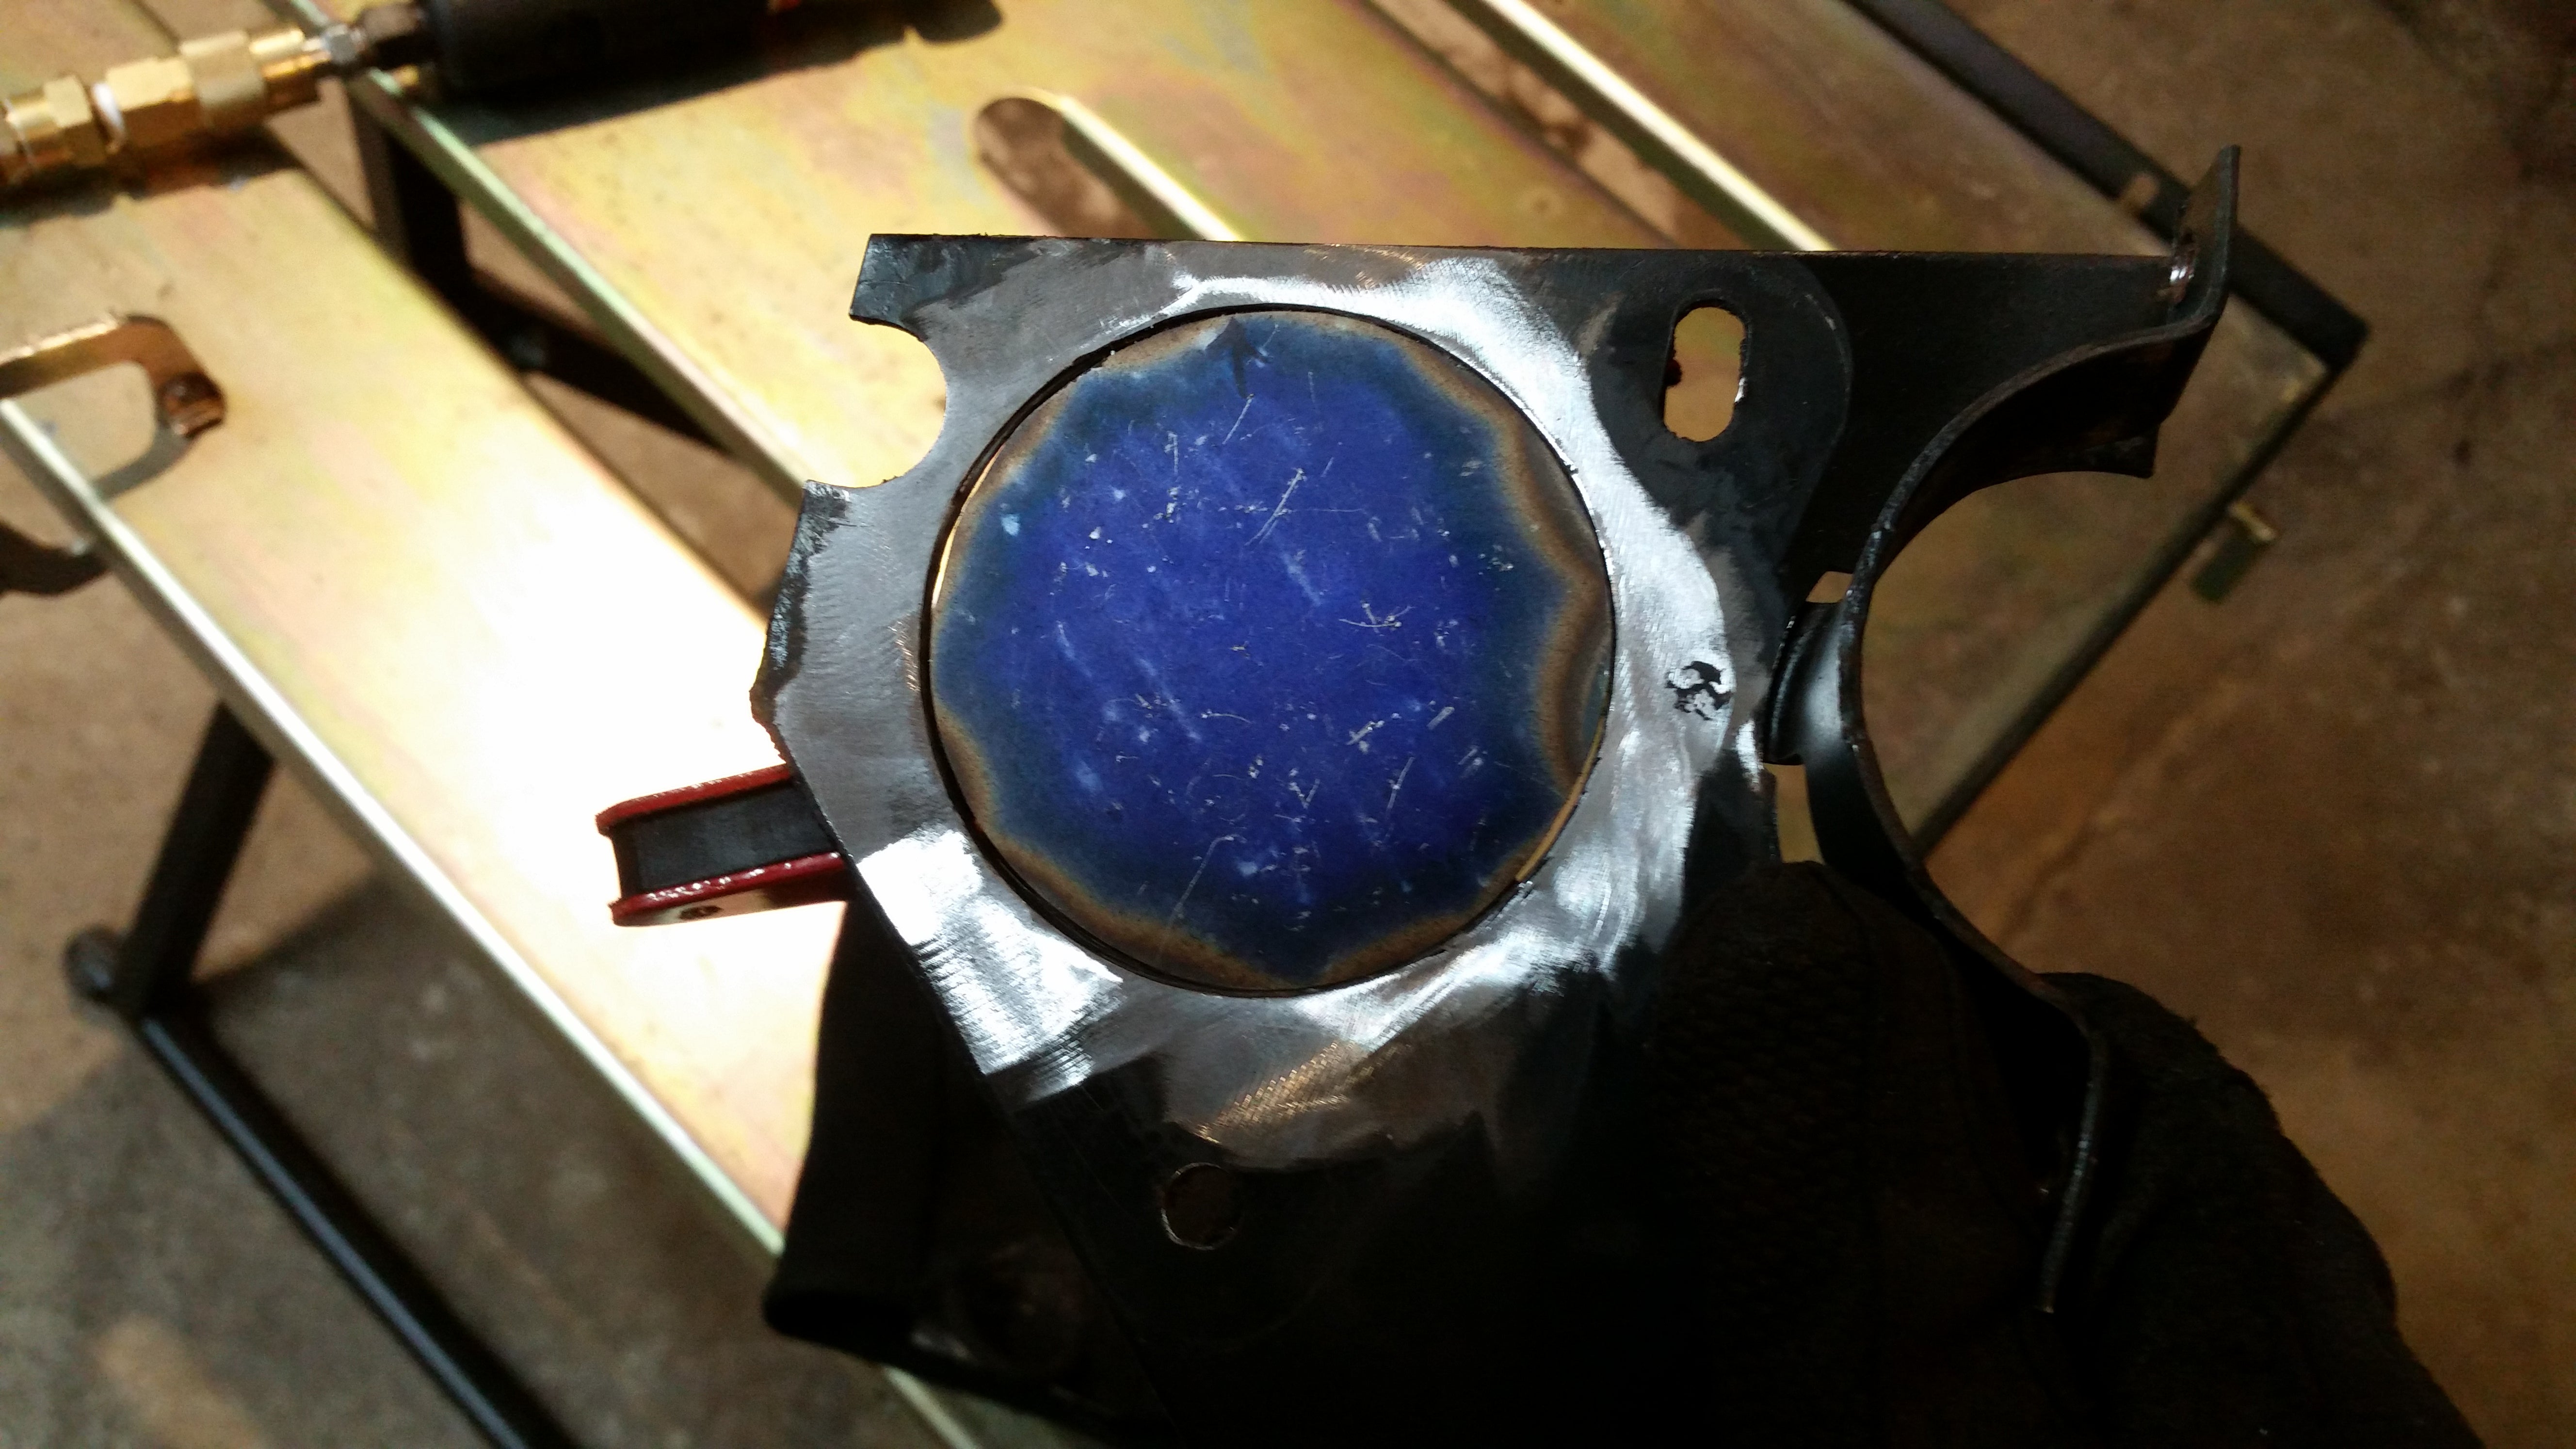
I kind of like the scratched up blue, like a round starry dusk
Everything was then cleaned up for welding (above Iíve already removed the paint from both sides and the inside edge of the hole).
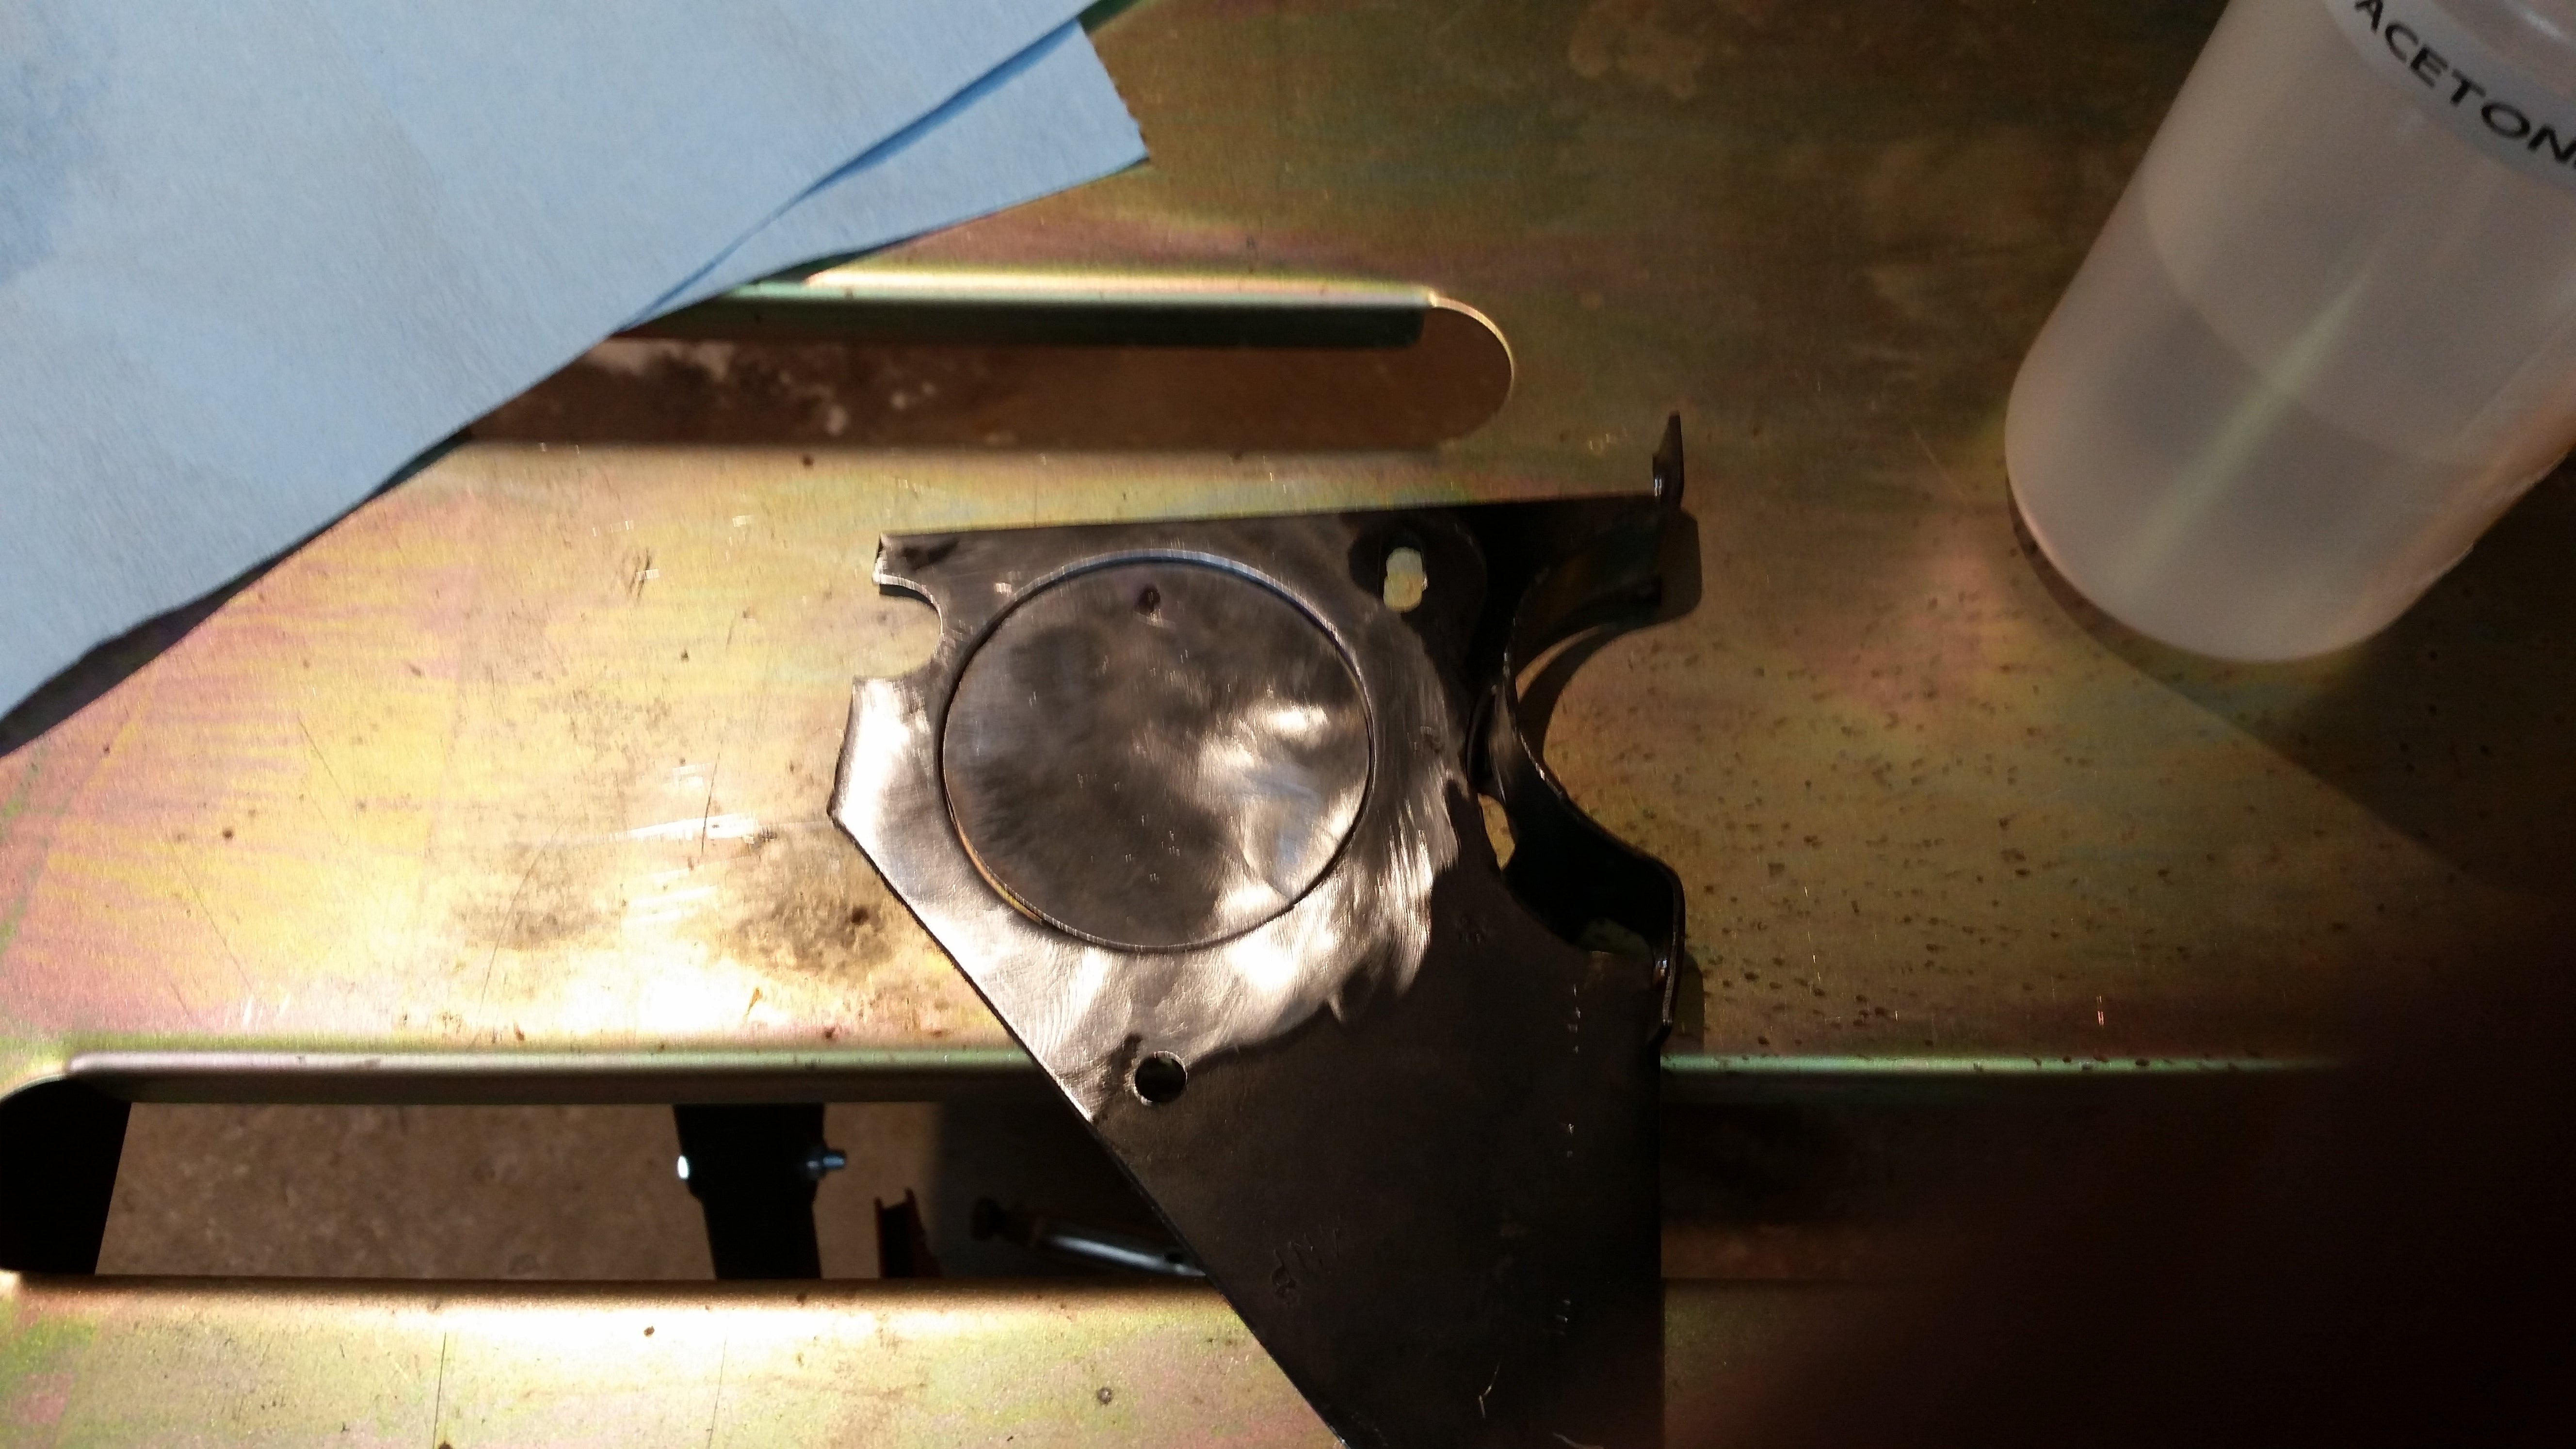 !!!CAPTION ERROR: MAY BE MULTI-LINE OR CONTAIN LINK!!!
You can see two pictures ago there is a black arrow on the part, I made a punch mark where this was, and used that to re-arrow it after cleaning. This is just so I know which ways is up, since the hole isnít perfectly round.
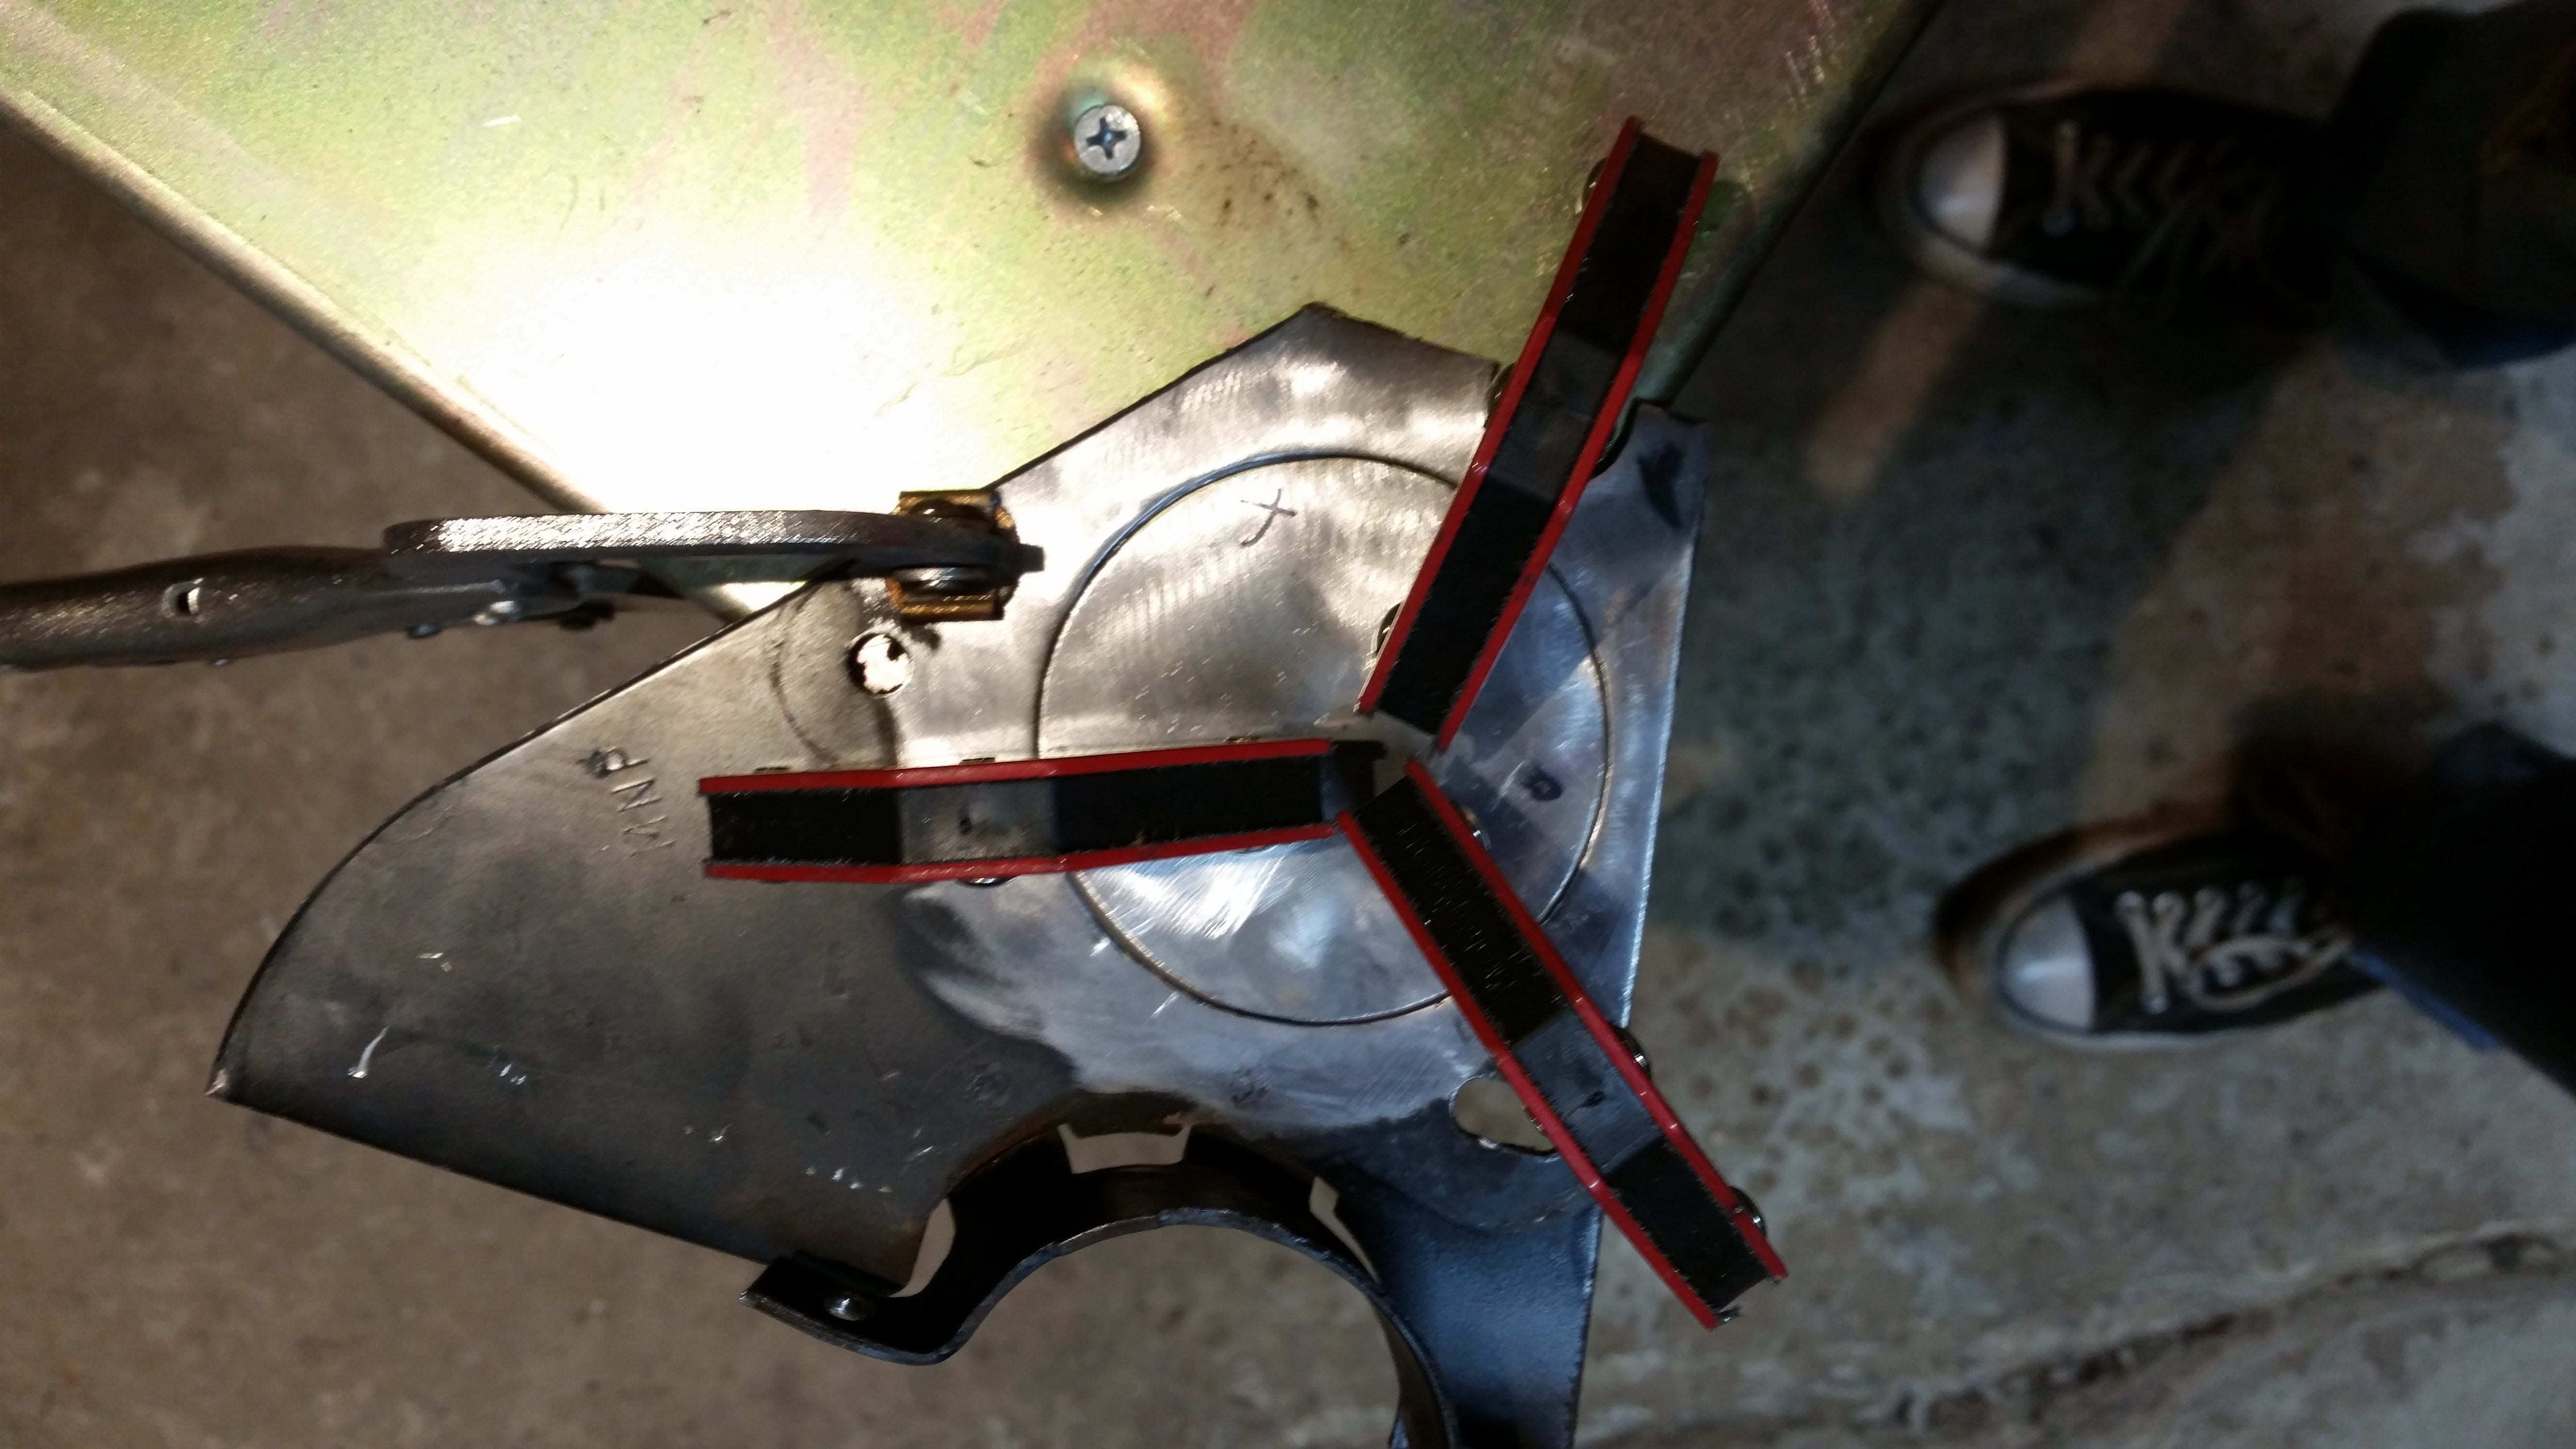
The plug had a slight bend which probably is from clamping and grinding, but I fixed it, hence the X (that was the high spot)
The patch is then held in place with some magnets to be welded in place. Itís then, well, welded.
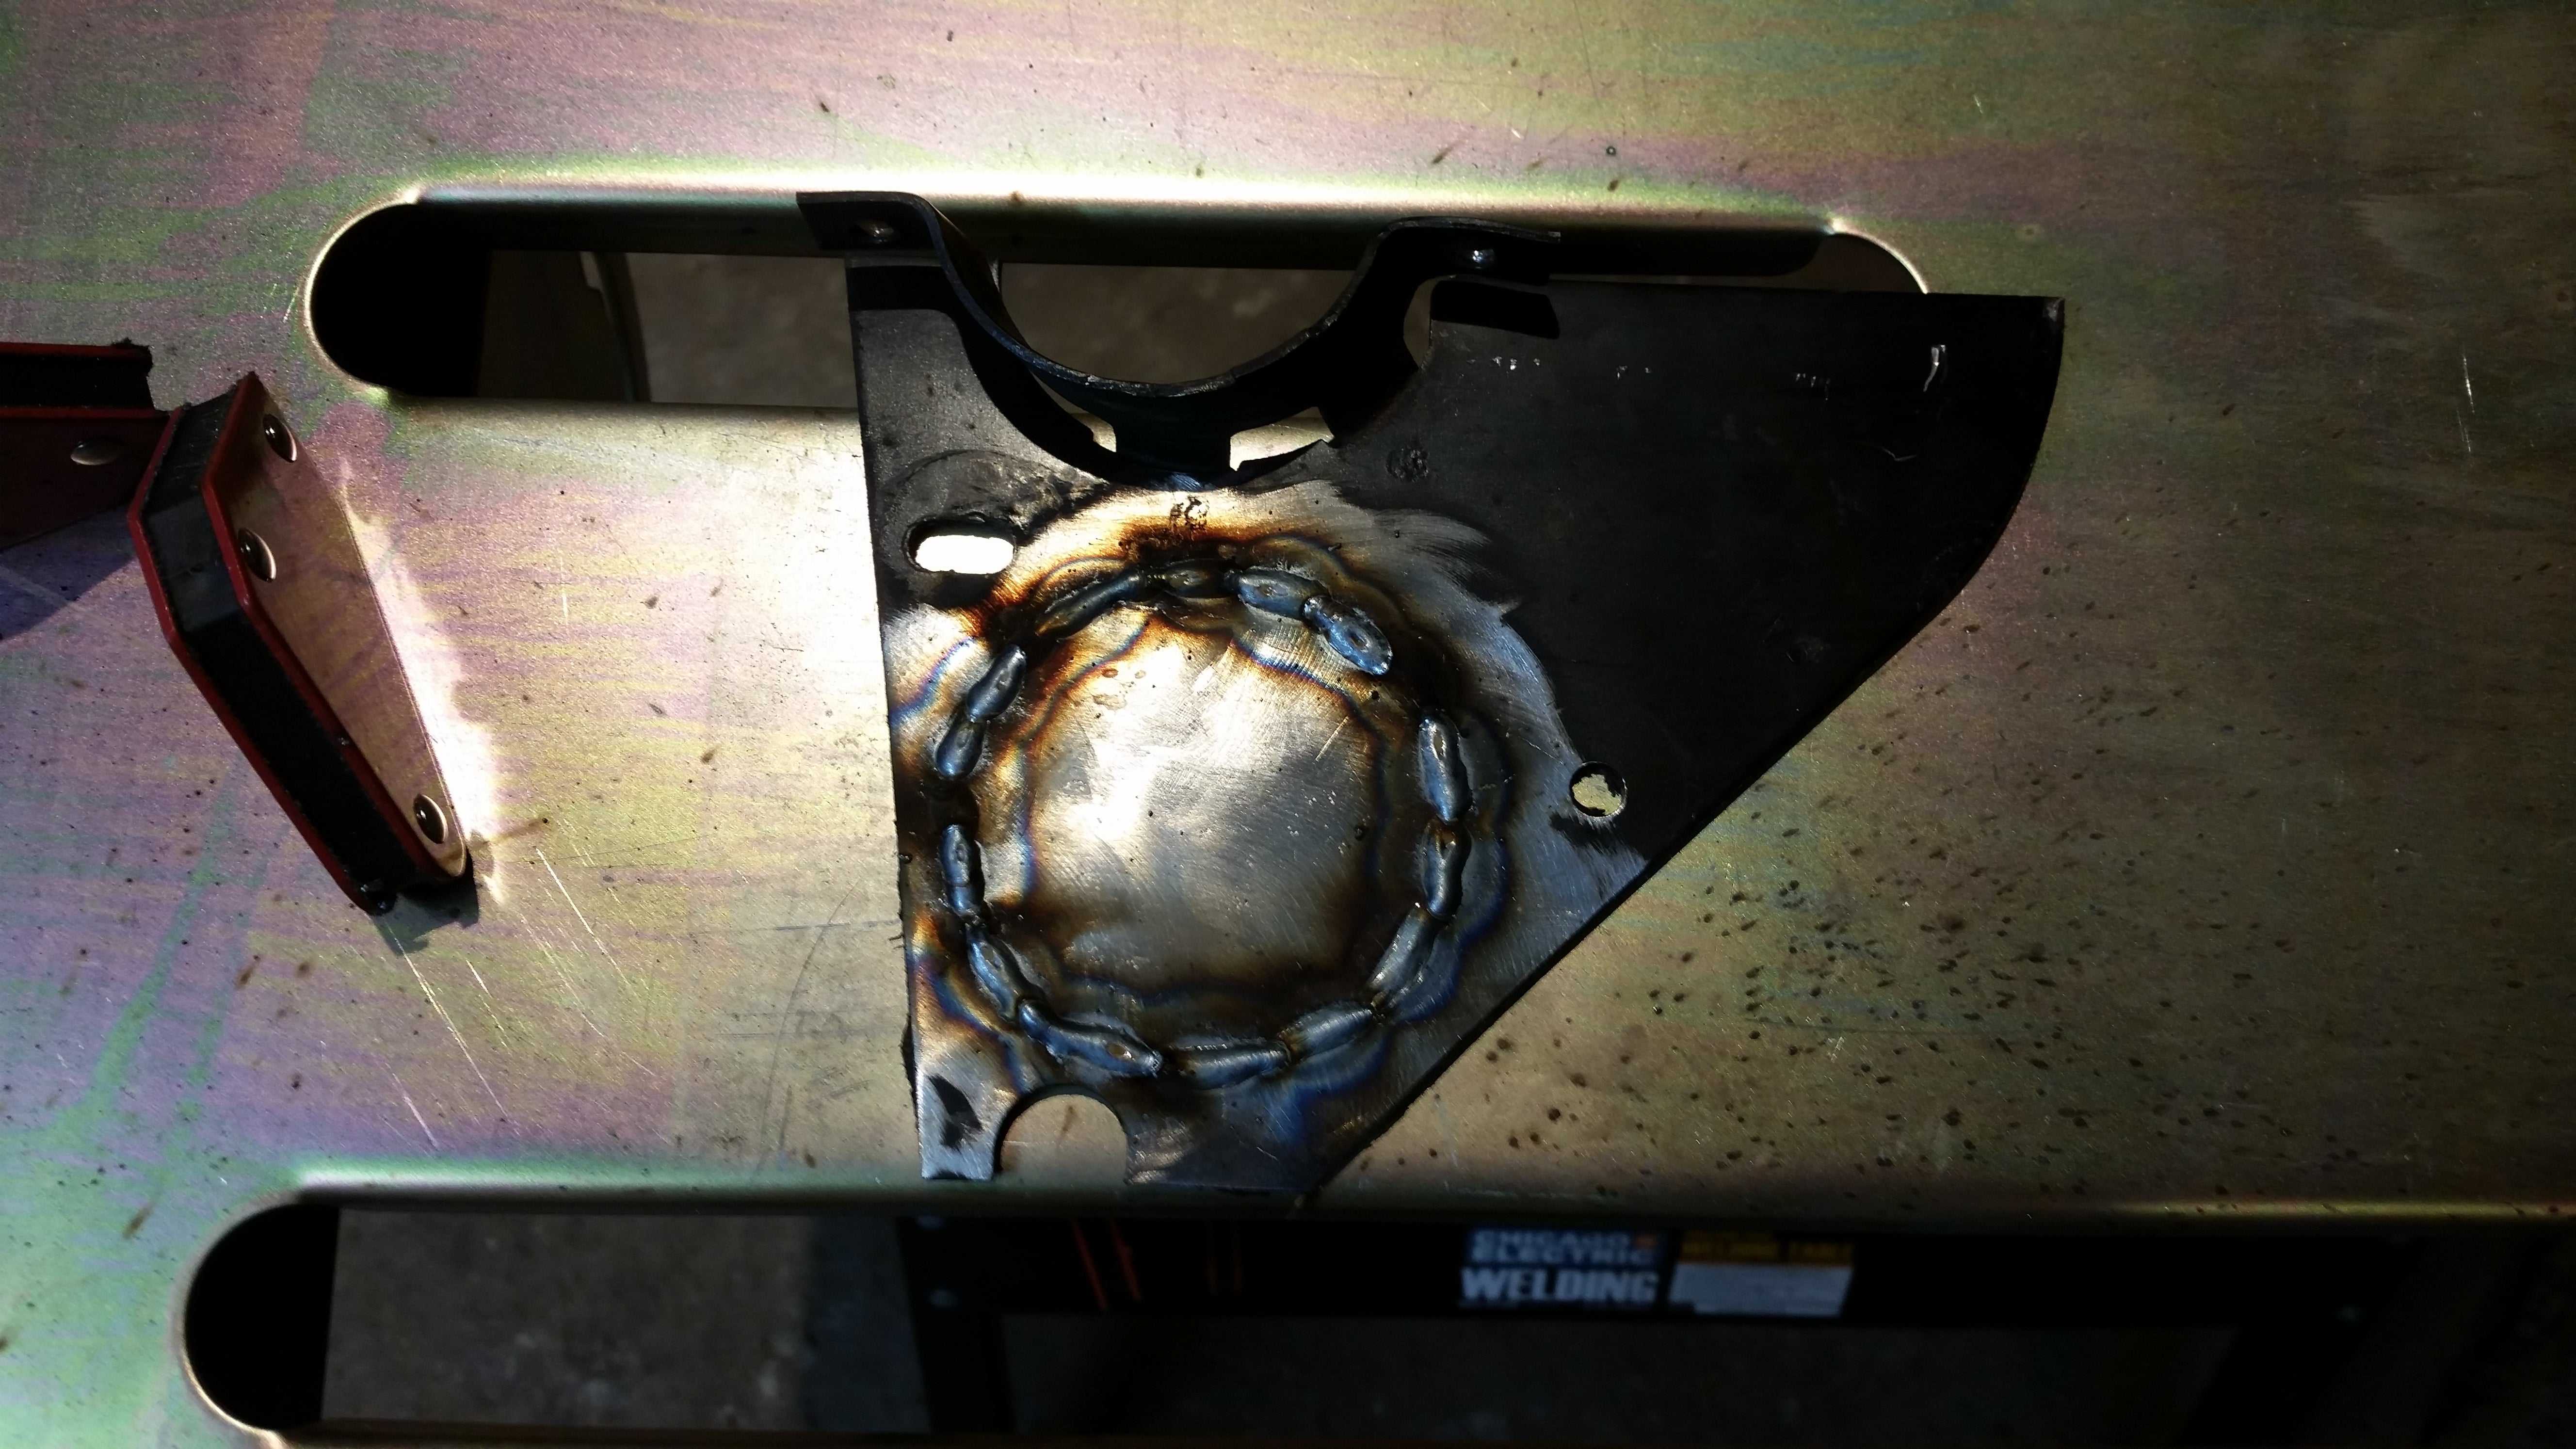
A little longer beads than Iíd usually risk on something this thin, but it turned out okay (didnít turn into a taco!)
If anyone here who actually knows how to weld has any feedback, it is welcome. I make n o claim to know what Iím doing beyond being able to stick stuff together, and in this case without warping it. In any case, a grinder...
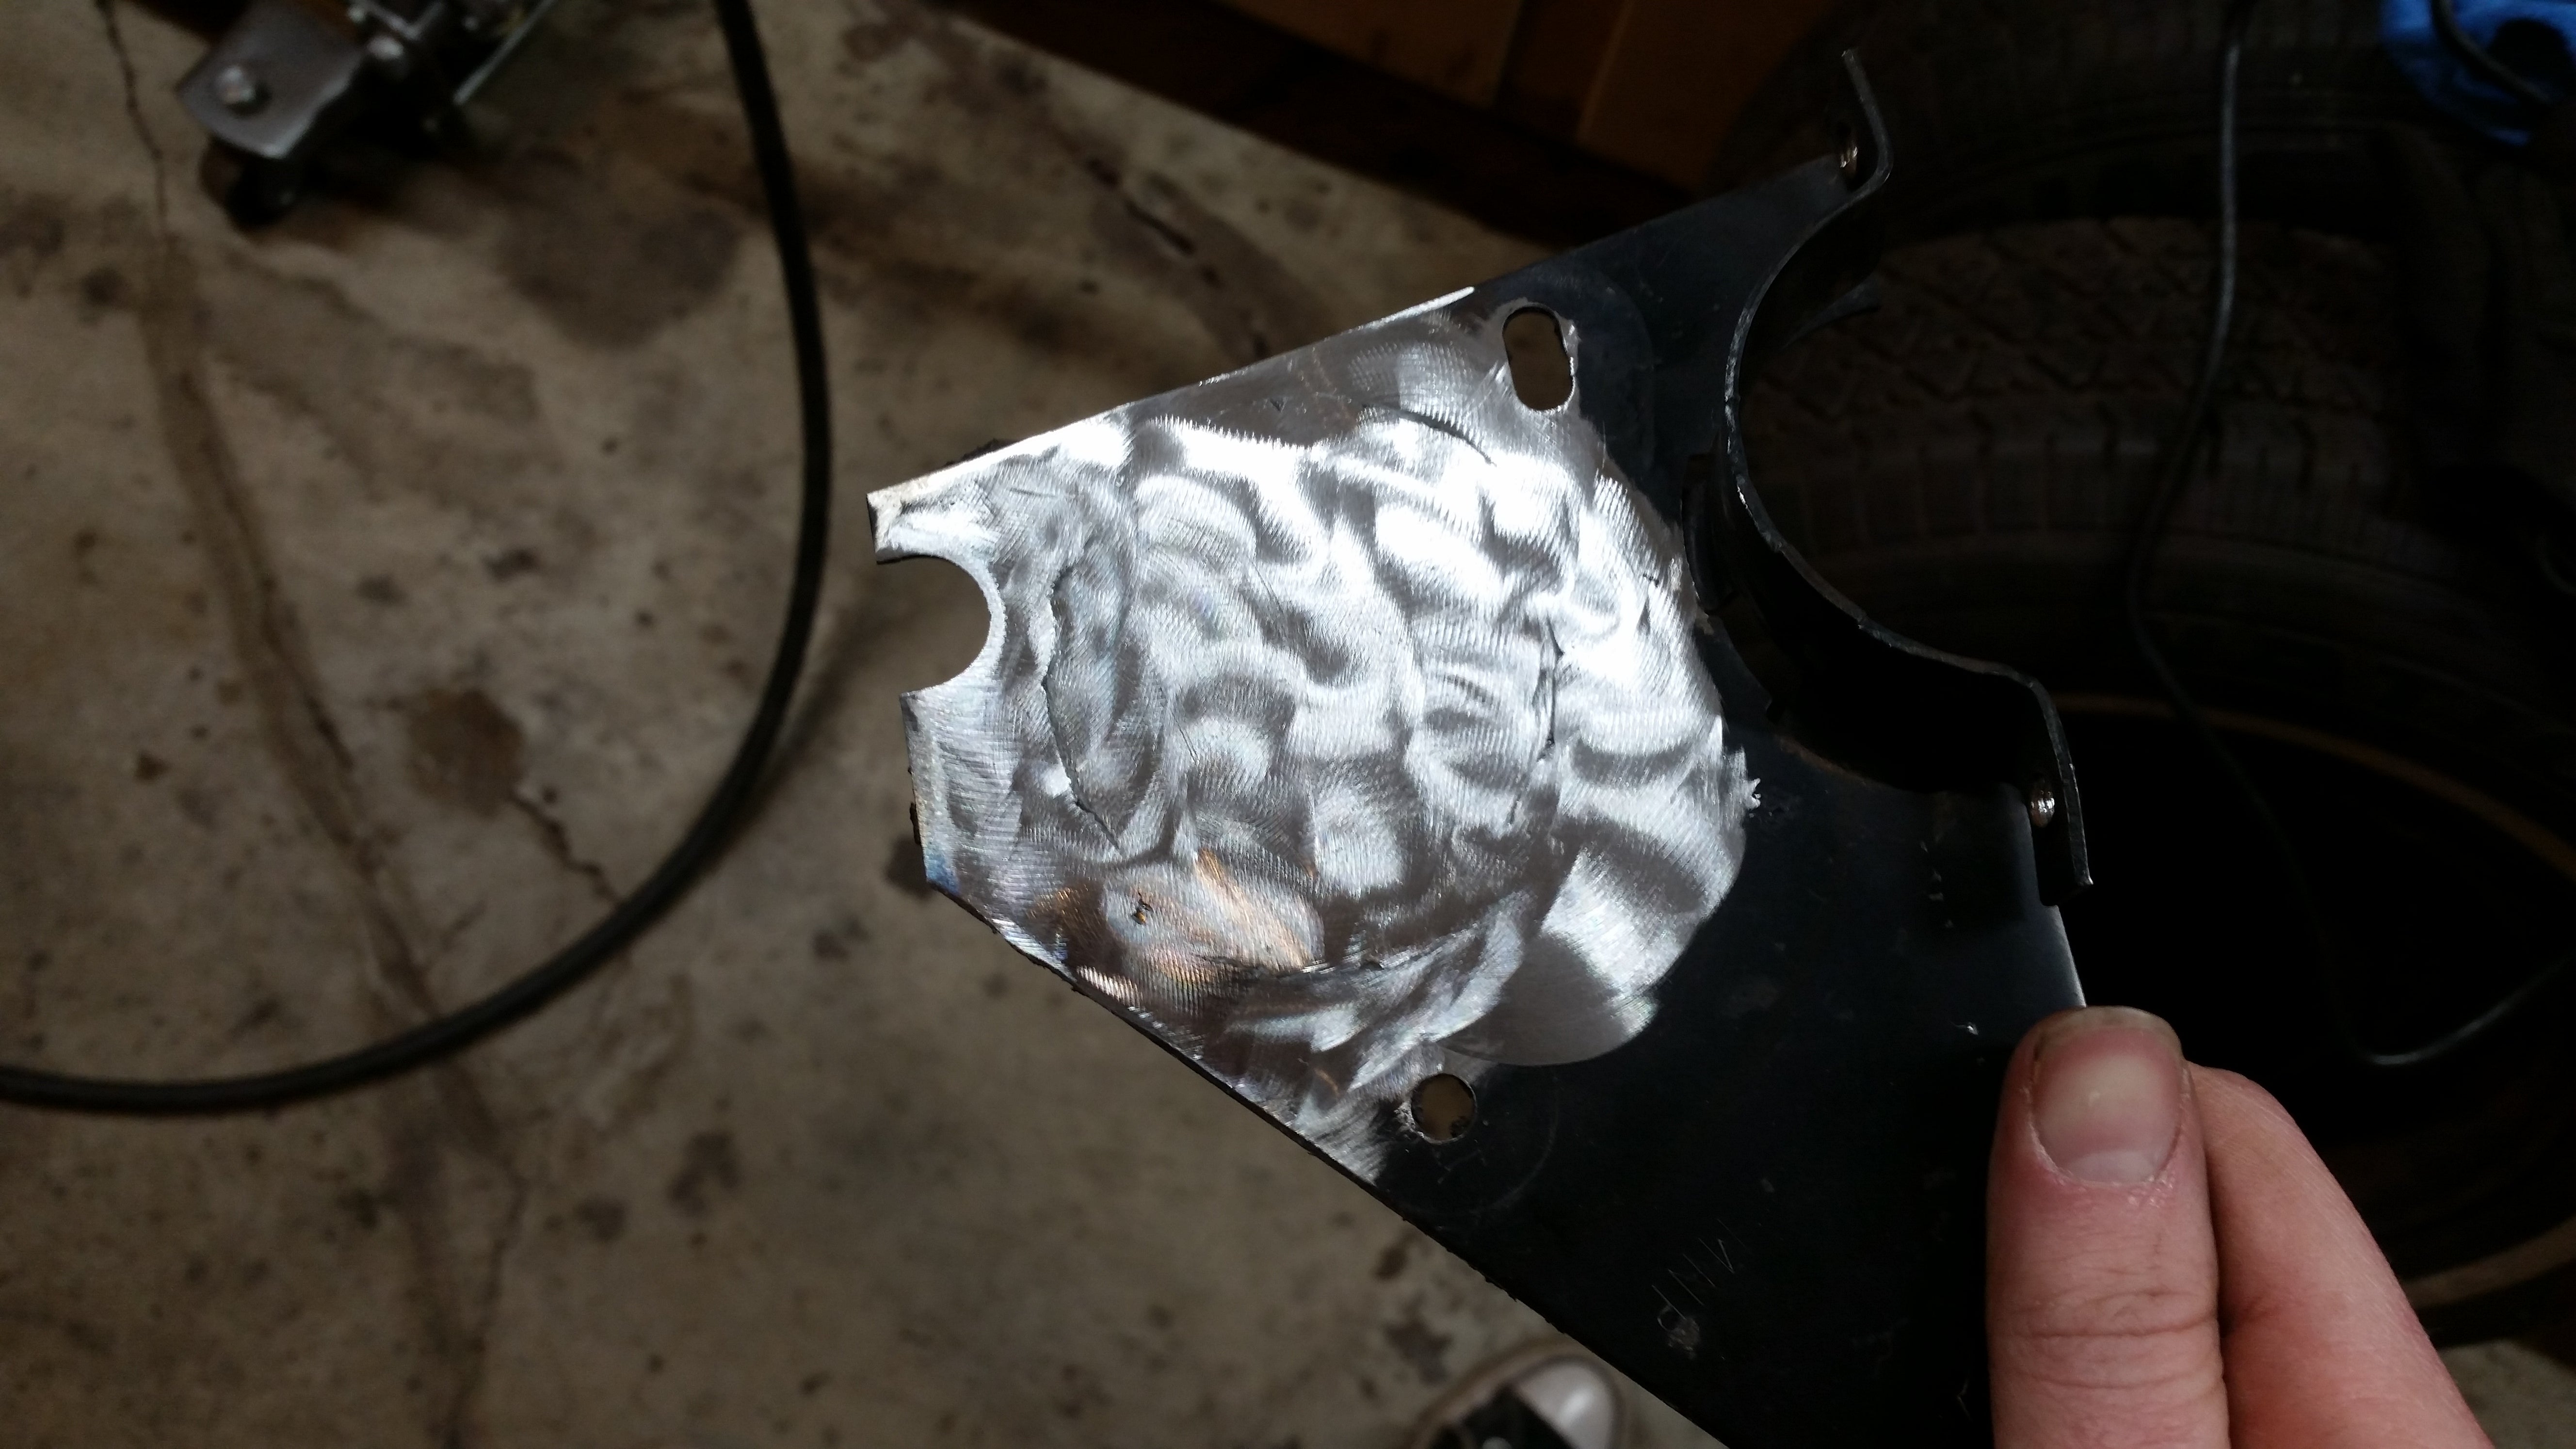
Again, die grinder and roloc sanding discs - much more control than a flap wheel on the angle grinder, good for small stuff like this
... and paint...
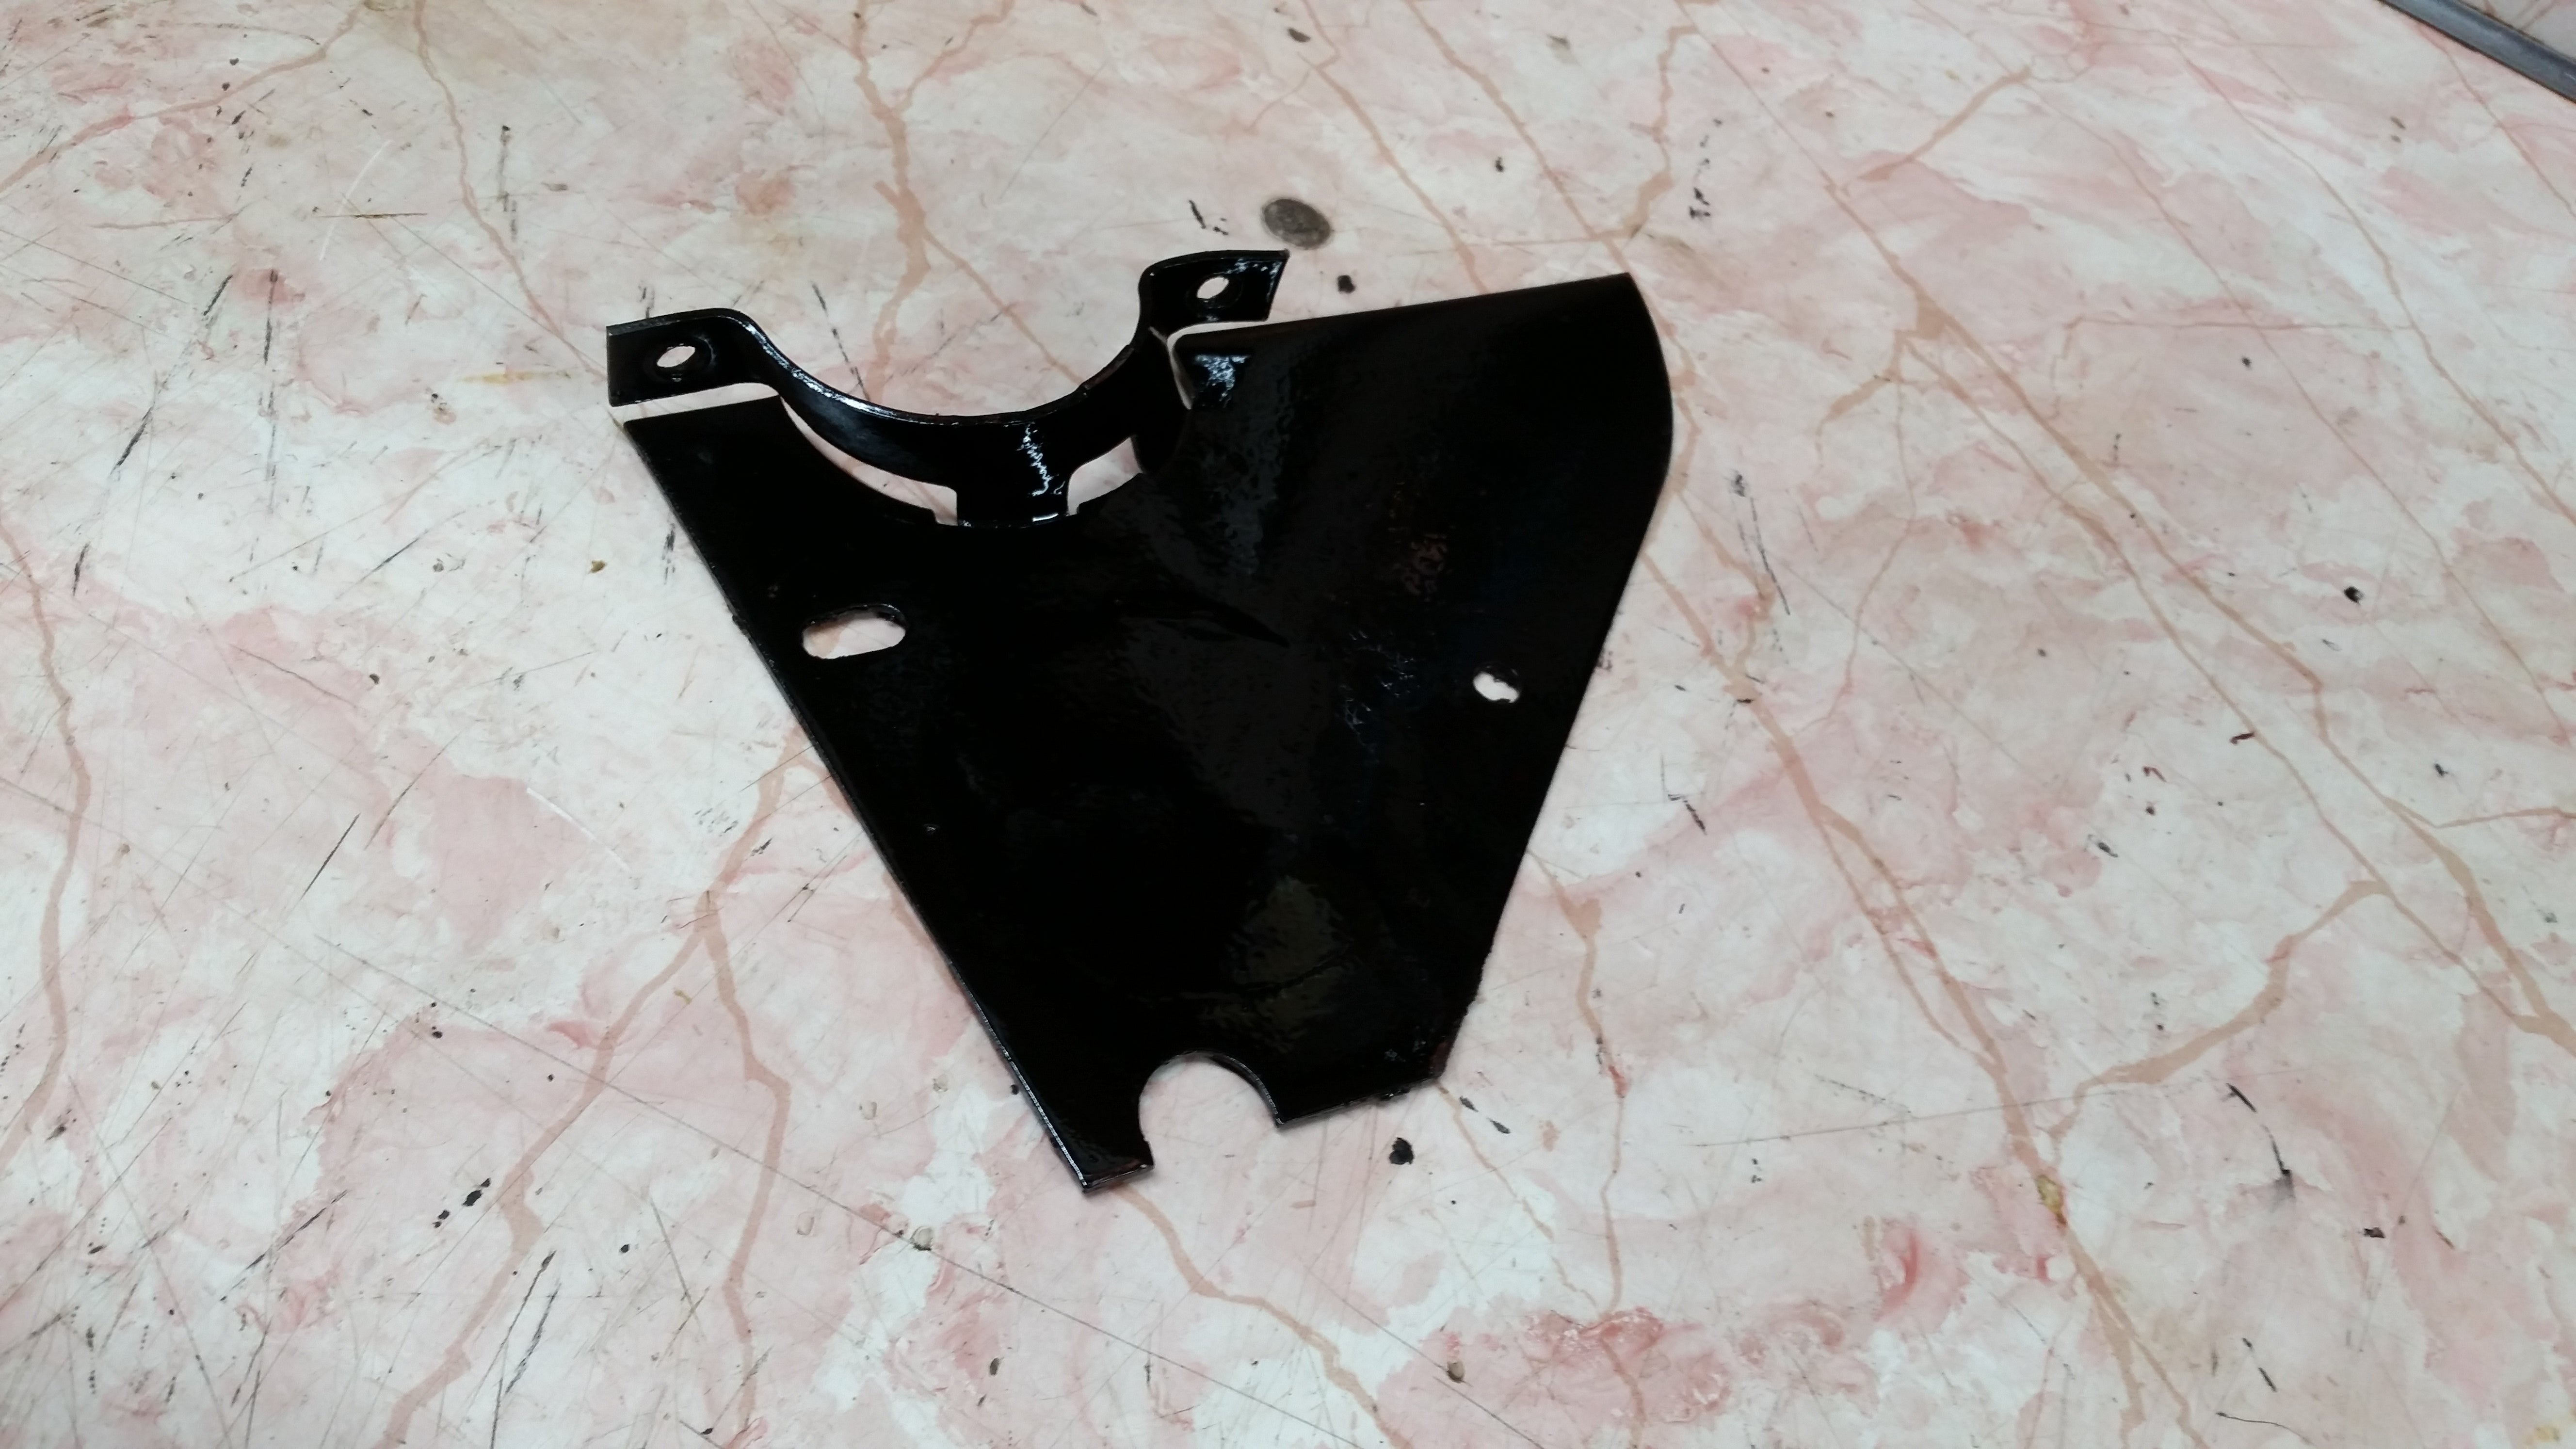
This will dry semi-gloss, still very wet when photographed but I was hungry and wanted to eat more than I wanted to watch paint dry for the sake of taking a picture of it.
...makes it look like it did a while ago.
This is all the further I have gotten so far. The next step will be to put this plate back in the car temporarily to make a final determination of where the new MC has to mount, then ironically drilling holes through my patch. Thereís some other fiddly stuff I probably should do to make it as robust as possible as well. All this should be part 2. Much later, part 3 will be the transmission-end of the fun.
 66P1800inpieces
> MM54
02/17/2019 at 21:27 |
|
Very nice.† I should pick up a a welder but I donít have enough stuff to weld. I have 2-3 things but the Mrs. says it would be more cost effective to take those somewhere. I agree with her but it is less fun.† For now when I need a bracket or something I try to fold and manipulate plates.†
 MM54
> 66P1800inpieces
02/17/2019 at 21:31 |
|
Thanks! The welder is handy to have around, not something I use all that often, but when needed, thereís no alternative. The above patch would be a good case to tig weld, but I donít have a machine for that (nor have I ever done it).
 pip bip - choose Corrour
> MM54
02/18/2019 at 01:50 |
|
why not use† a cable set up?
 MM54
> pip bip - choose Corrour
02/18/2019 at 08:36 |
|
Just as much (if not more, with routing and mounting the Ďslaveí end) work for an inferior setup.
Using a hydraulic throwout bearing means once I mount the MC end, itís basically done and I just have to set up the clutch-end.
 Future Heap Owner
> MM54
02/18/2019 at 17:53 |
|
Very thorough write up! You are good at taking process photos. Thanks for sharing.
 MM54
> Future Heap Owner
02/18/2019 at 19:35 |
|
Thank you!